Tue May 19 2020
Quick weaves have become a growing trend to attain glamorous hair in a short amount of time. It's commonly known as the cheaper, faster option to the sew-in weave. If you want to know more about the quick weave, just keep on reading, we will show you everything you need to know.
Content [hide]

A quick weave is a method where the hair wefts are glued directly to a protective wig cap before bonding to your head. Unlike the traditional sew-in weaves, this method will take you a relatively short amount of time. You can do this method at home by following the complete guide.
Obviously, a quick weave has its own pros and cons. Although it’s convenient and very affordable, you may face the potential damage to your scalp and natural hair. To avoid those potential damage, proper installation and caring is very important.
The longevity of a quick weave depends on many factors such as the quality of hair, the installation process, the hair care routine, the quality of adhesive,... In general, a quick weave can last for about 4-5 weeks.
The weft hair loosening out from the protective wig cap is a sign that it’s time to take out your quick weave. There are many tips to make the quick weave stay longer on your head. However, they generally are using high-quality adhesive, proper caring routine, and install it in the right way.
Usually, you can get three bundles with closure or frontal for your primary sew in, that's typically the magic number for your average sew in. With three bundles anywhere from 8 inches to 18 inches, your weave will be full, flowy, and glamorous.

Requirements:
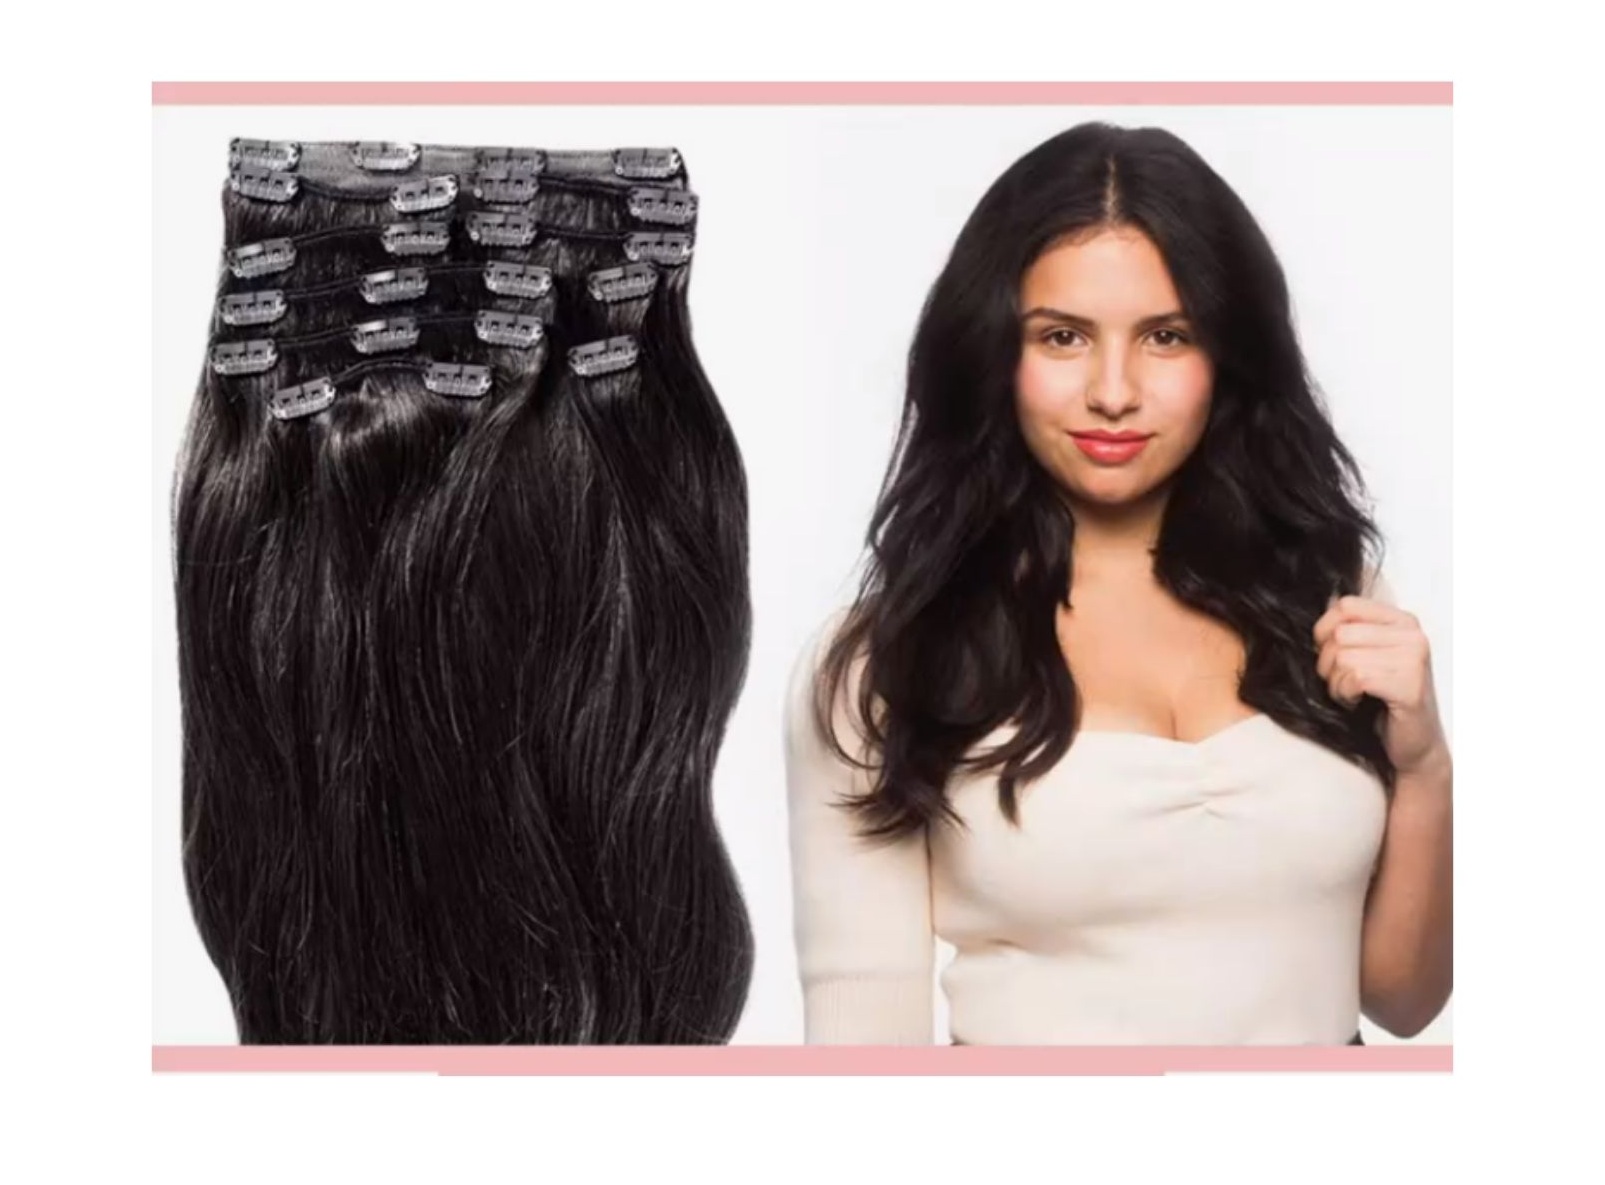
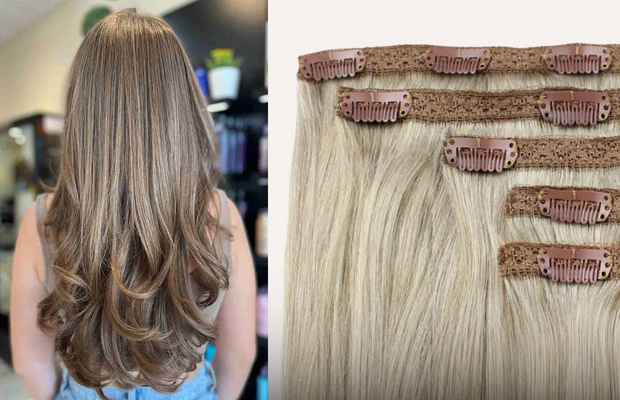
1.A single pack of weft extensions, preferably real human hair, just like Brazilian human hair (also known as virgin hair)
2.Hair
scissors and ties
3.A
flat iron and a blow dryer
4.A towel, some bonding glue, a comb, brush and a wave cap at hand.
Step-By-Step:
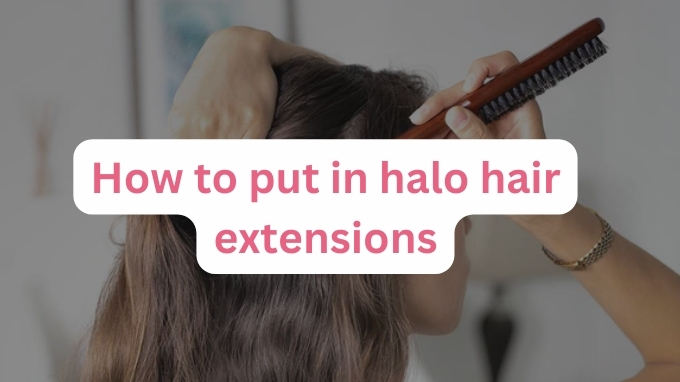
Step 1: Prep your natural hair.
After brushing your hair, you should braid it and let it lay flat on your head. If you don’t want to braid your natural hair, you can use molding gel to keep it under the wig cap. If you want to get a middle part, you can leave the center part unbraid.
Step 2: Cover your hair with your protective wig cap.
After your hair is prepared, use a wig cap to cover your head. To prevent your natural hair from exposing to the glue, you should apply a liquid cap over the protective wig. When the liquid cap dries, you can cut the protective wig cap at the middle part to release your natural hair.
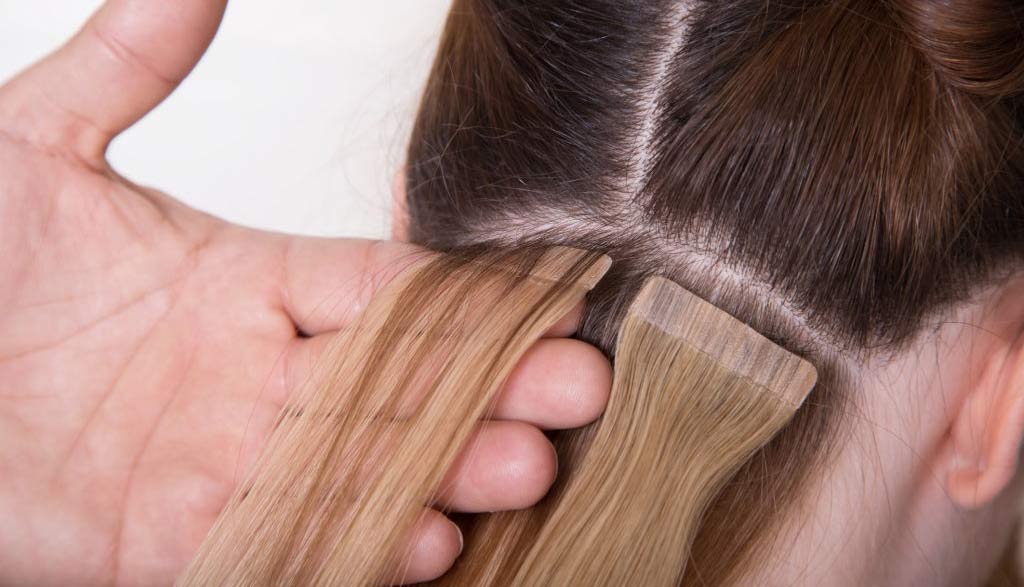
Step 3: Install the hair weave
If you do it yourself at home, make sure to sit in front of the mirror to see where you put the weaves correctly. You should start from the side of your head and glue the weave in line to the other side.
When gluing hair weaves to the wig cap, you have to start from the bottom to the top of your head. Make sure that each weave must be dried before you apply a new one.
Step 4: Style the middle part
When creating a hair part with your natural hair, make sure that the hair at the part is long enough to cover the weft line. For a natural-looking part, add a bit of concealer or foundation that matches your skin tone to the part. This will give the illusion of scalp and create a seamless transition between the weave and your natural hairline.
Now the installation process has been done. It’s time to cut and style your hair after installing a quick weave.
A typical install of a quick weave is $100 and when you include the cost of the hair (~$60), the whole look is achieved for $160.
Yes, you can. The adhesive used to bond a glued-in hair weave is not water-soluble and is perfectly safe to wash. A well-cared for glued-in weave will last roughly one to two months before the glue begins to loosen. During that time, you will have to wash your hair regularly to prevent salt, dirt, and mold from accumulating. It is highly suggested that you should wash your quick weave if you don’t want the glue to be loosened or accumulated with the mold, dirt or salt.

Most
hairstylists suggest opting for the sew-in weave because it can be healthier
and look more natural for your hair. Of course, braids need to be done
properly. "A quick weave is great for when you want to change your
hairstyles within a short period of time, or you're unable to braid your hair.
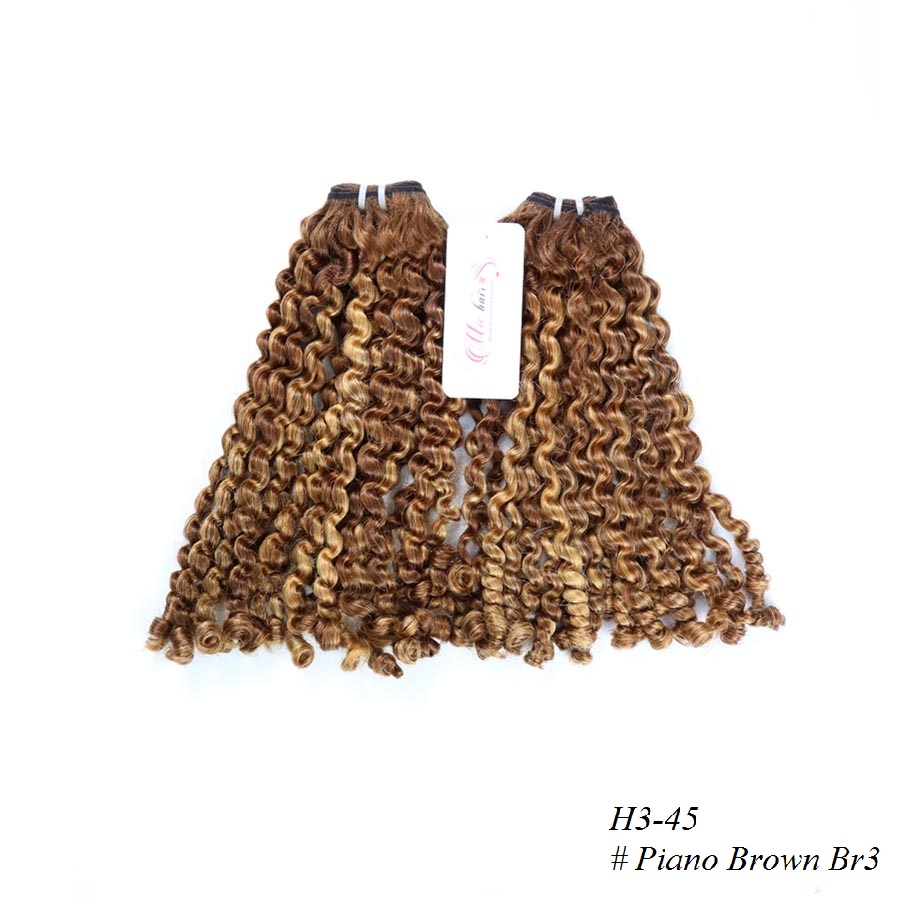
There
are 2 kinds of hair used to make quick weave namely human hair and synthetic
hair. A quick weave made from human hair looks more natural and realistic but
more expensive than synthetic hair. Besides, it also needs more careful caring.
The origins of human hair will decide on its quality. Undoubtedly, healthy hair
must be better than unhealthy hair because weak hair can make dry and brittle
extensions. The human hair is also considered the best hair for quick weave
bob.
SHARE
RELATED POSTS
you may like
Recommended Products
(2 Reviews)
High-Quality Vietnamese Black Wavy Hair Weave - MICHAIR
from $22
(2 Reviews)
Vietnamese Ombre Burgundy Body Wave Hair Bundles - MICHAIR
from $21.4
(2 Reviews)
Vietnamese Straight Fuchsia Ombre Weft Hair - MICHAIR
from $20.9
(2 Reviews)
Vietnamese Straight Grey Bulk Hair - MICHAIR
Contact us
Want to get updates on Michair news?
Copyright 2019 michair.vn

Connect now using
Don’t have an account?
Data updating
Please wait a moment