Last updated date Mon Oct 09 2023 By William Brown
The most important step in slaying your wig is melting the lace. The lace melting technique you use will impact how natural your wig will look in the end. People will be able to tell right away that your wig is not your natural hair if you lack the expertise and talent required to melt your lace smoothly. So it's to your best advantage to understand how to melt lace like an expert, and we'll show you how in this article.
Content [hide]
Lace is not all the same. The lace will dissolve into your skin more easily if it is thinner. Transparent lace and HD lace are two of the thinnest lace options.
There will be occasions when purchasing standard lace is the best option for your budget. In that case, make sure to select lace that is a perfect match for your skin tone. It will save you a lot of time while the lace is melting. You can also choose between transparent lace and HD lace, both of which are clear and will fit in with any skin tone.
Although it is not necessary to use a wig cap, it is recommended so that you will have an extra layer between your hair and the lace wig. Make sure you use the one that matches closest to your skin tone. You can cut holes for your ears so the wig cap can lay flat on your head
After you put the wig cap on, use freeze spray and blow dry to hold it. Once the wig cap is completely dry and holds your head perfectly, cut out the excess part along the hairline. You can also apply foundation to the wig cap for a better blend.
Apply glue around the front edge of the wig cap. Then put on the wig and make sure the hairline is in the place where you want it to be. The wig lace should match the color of your skin in order to have a perfect blend.
When the wig is stablized on your head, you can use either scissors or an eyebrow razor to trim the excess lace. It is best to trim it following the zigzac pattern to make it look more natural. When you are done, use mousse or water to smooth your hair back and prevent fly-aways.
Apply freeze spray along the edges of the lace. Make sure you are doing it slowly, from left to right. The lace is now completely melted and blends perfectly into your scalp. Then blow dry around the hairline where you used freeze spray.
Using a wrap strip or lace melt band, put it around your hairline for at least 10 minutes. It is used to protect your hair and hold your wig in place while the lace melts into your hairline. You can do something else while waiting.
The waiting is over; it’s time to remove the wrap strip. Gently pull it out of your hairline and make sure it does not stick to your head and cause damage to the hairline.
The rat-tail comb comes in handy for this step. Use it to pull out a few hairs along the hairline. Trim those hairs to about 1 inch in length with an eyebrow razor or scissors. After that, apply mousse or pomade using an eyebrow brush to mold them into curls along your forehead. It helps mimic a natural hairline. When you are done, use the wrap strip again to hold the baby hair for a bit.
If your wig is too voluminous and doesn’t lay as close to your scalp as you like, run the back of a hot comb over small 3–4-inch sections of your hair along your part. Use medium heat so you don’t accidentally burn your scalp, and keep moving the hot comb rather than holding it down in one place. Push down with the comb so the heat flattens your hair.
Now that you know how to melt lace properly, follow the steps above precisely, and you will achieve the most natural, seamless look with your lace wig. It will take some practice to get your lace melting technique down to perfection, but you will get there eventually.
SHARE
Hairstylist
William is a professional hair stylist with over 10 years of experience. He is passionate about creating personalized, trendy looks for his clients and specializes in hair treatments and updos. He is now a certified hair adviser for Mic Hair Company. His articles are always filled with advice, pro tips, and latest hair research results.
RELATED POSTS
you may like
Recommended Products
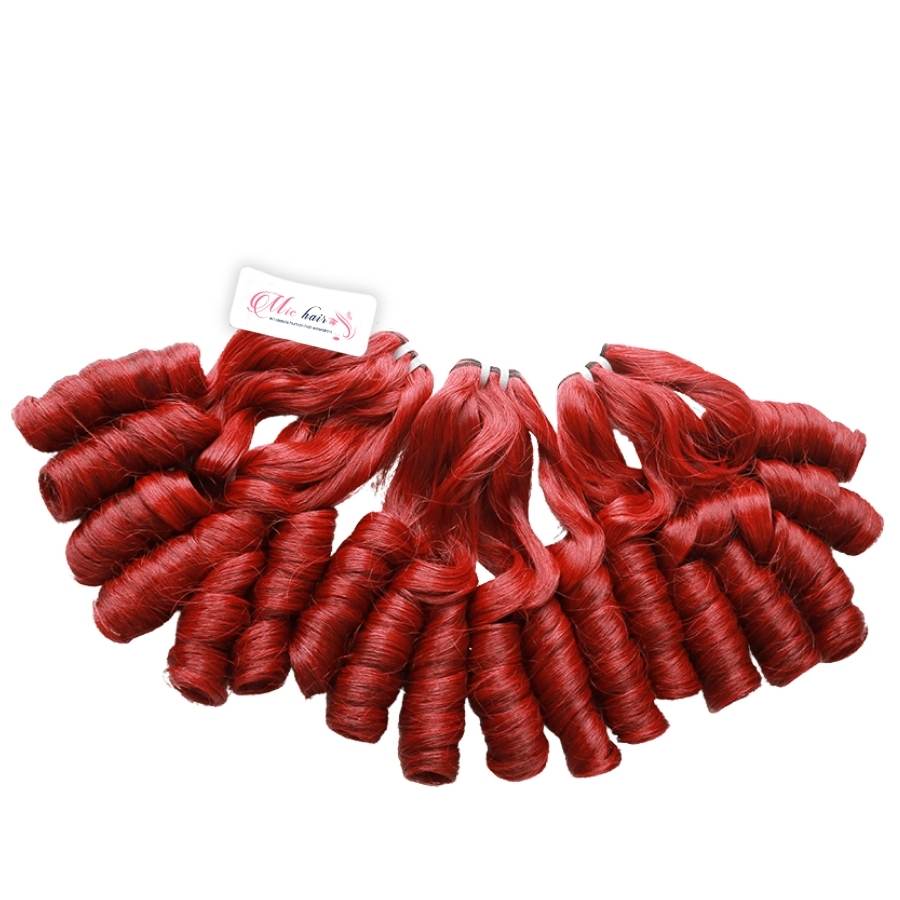
(4 Reviews)
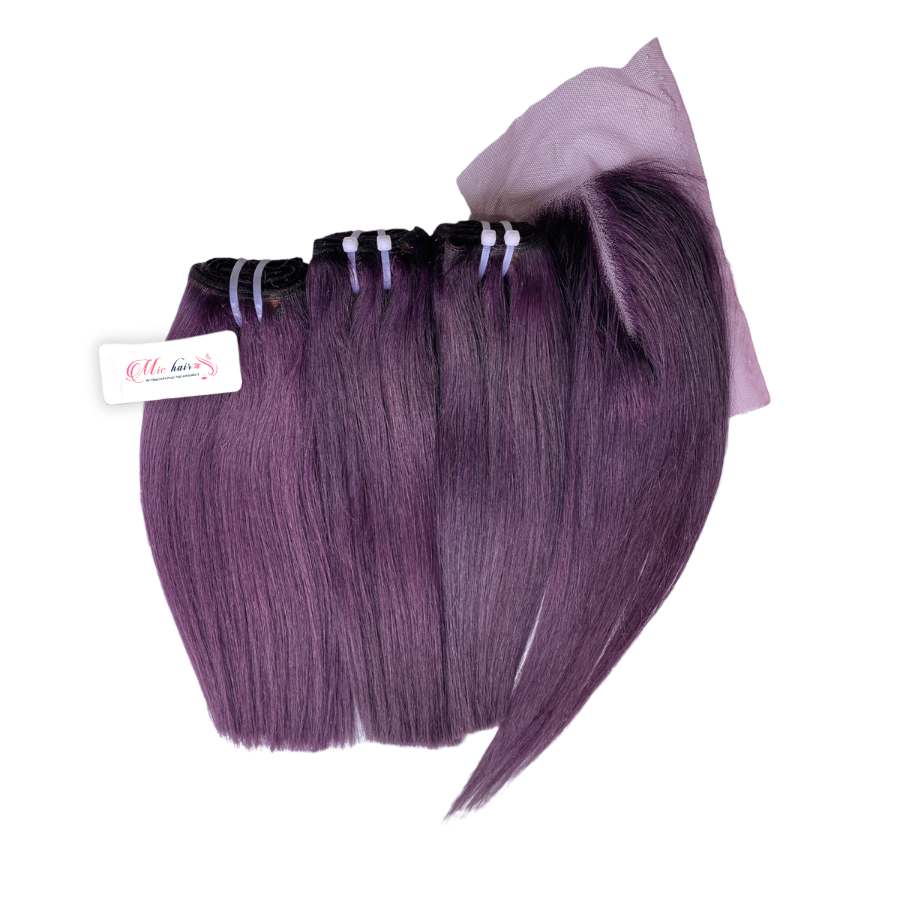
Vibrant Red Funmi Bouncy Curly Machine Wefts
from $26
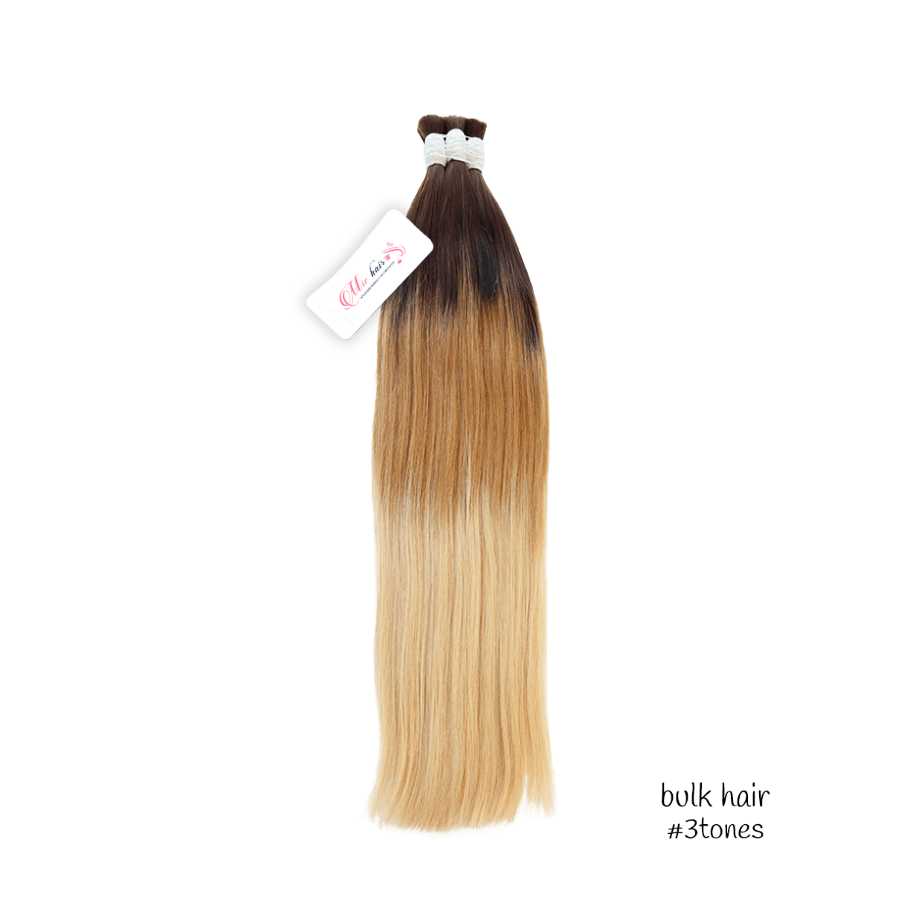
(2 Reviews)
3-Tone Ombre Straight Bulk Hair (Unwefted Human Hair)
Contact us
(3 Reviews)
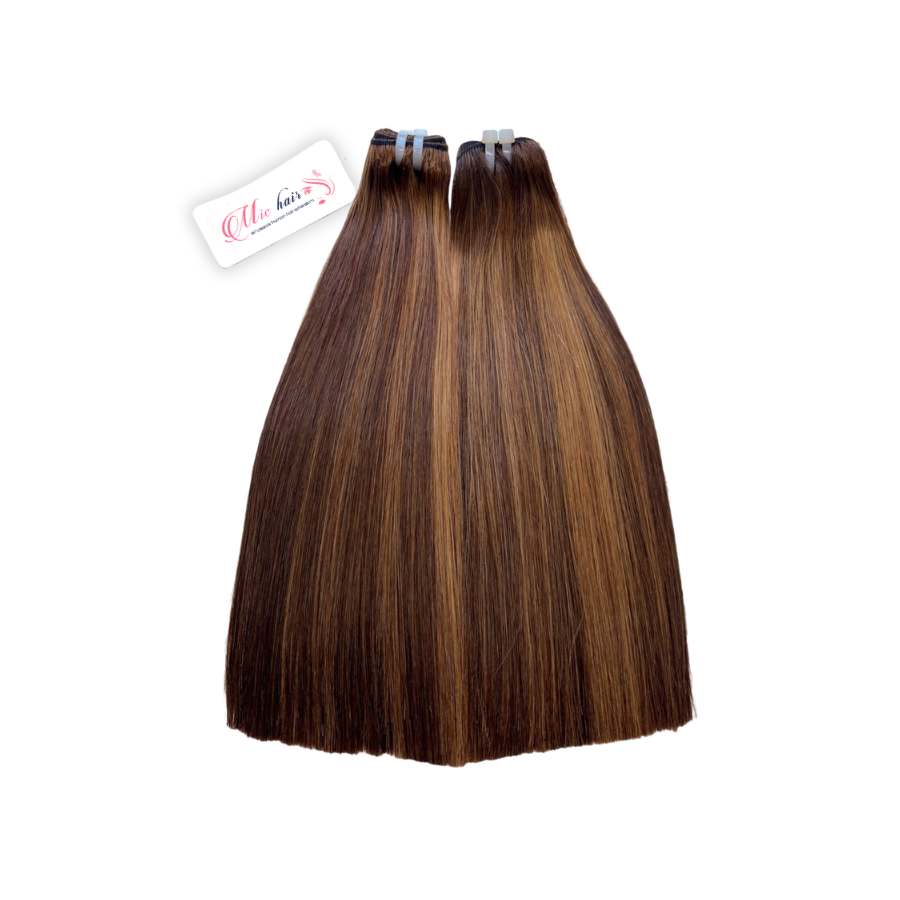
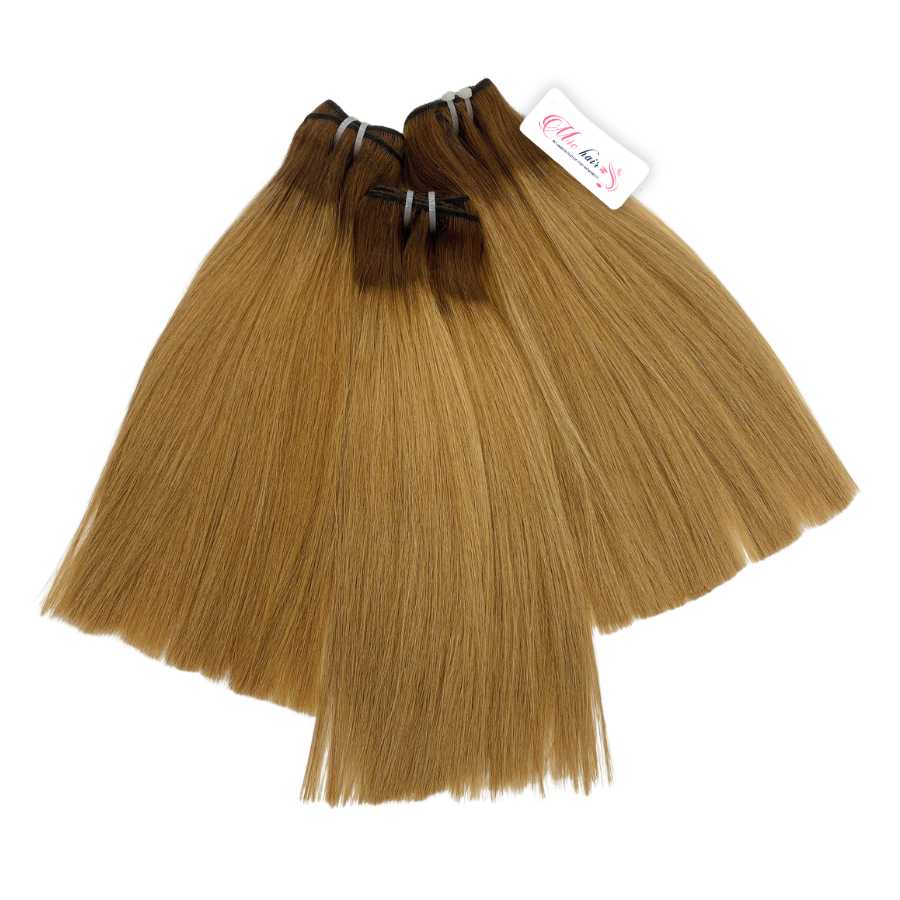
Ombre Straight Machine Wefts (Brown to Gold Blend)
from $20.4
(2 Reviews)
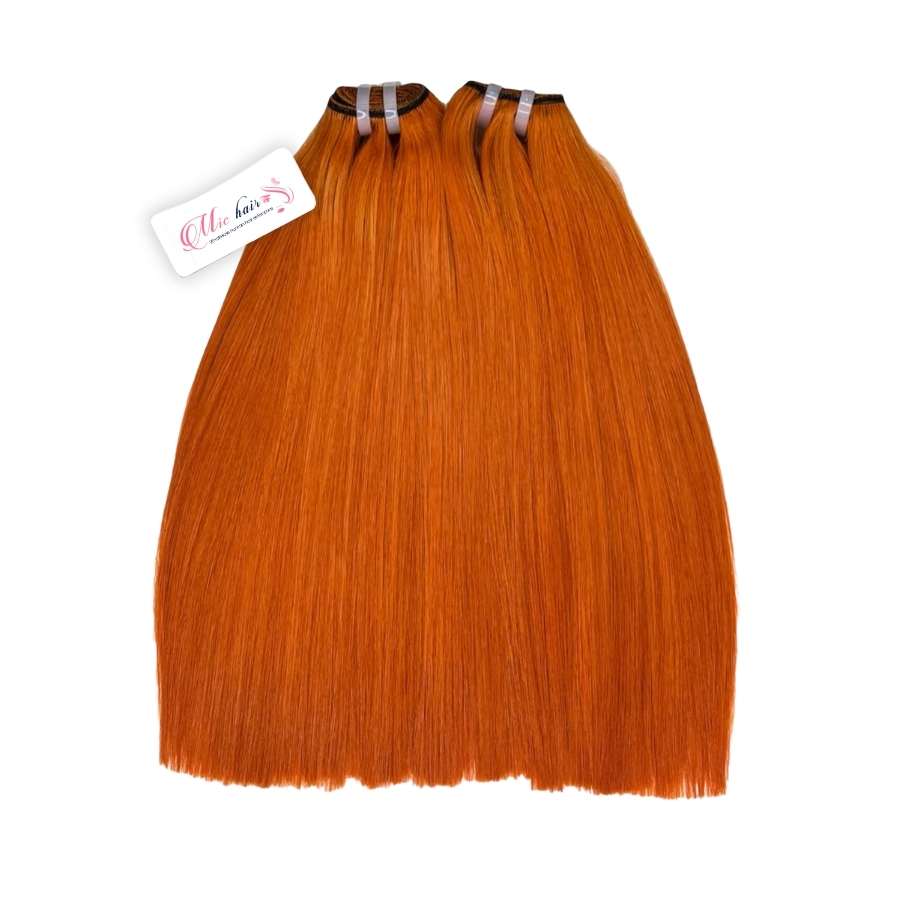
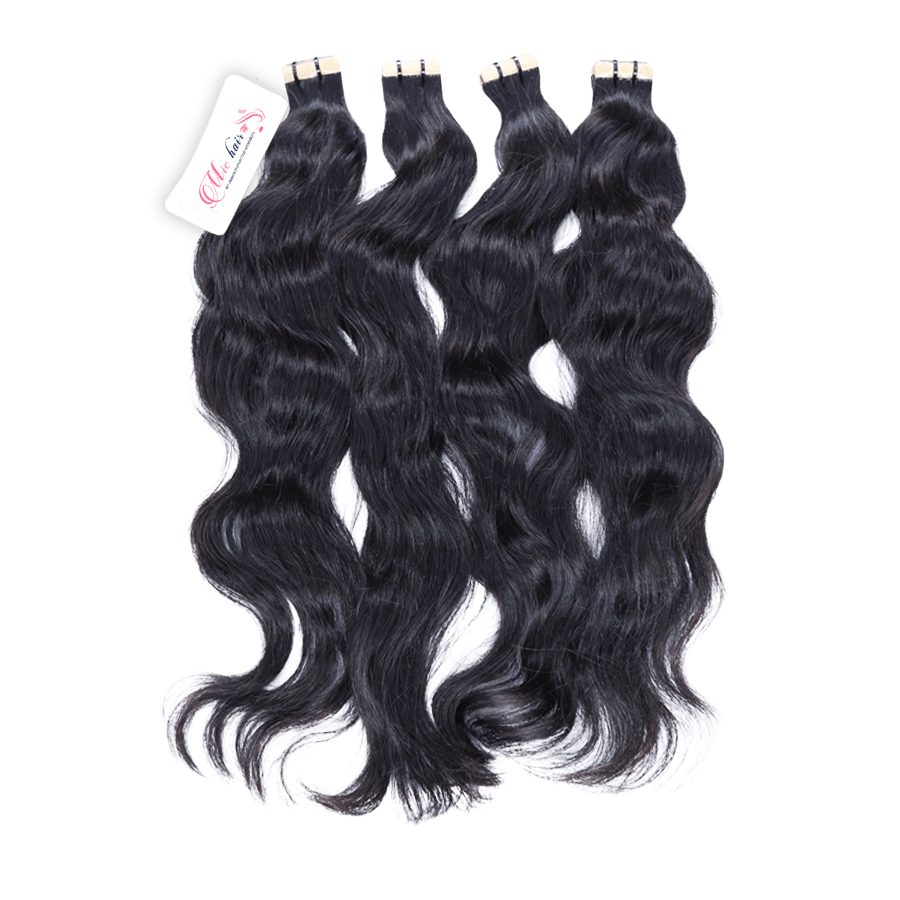
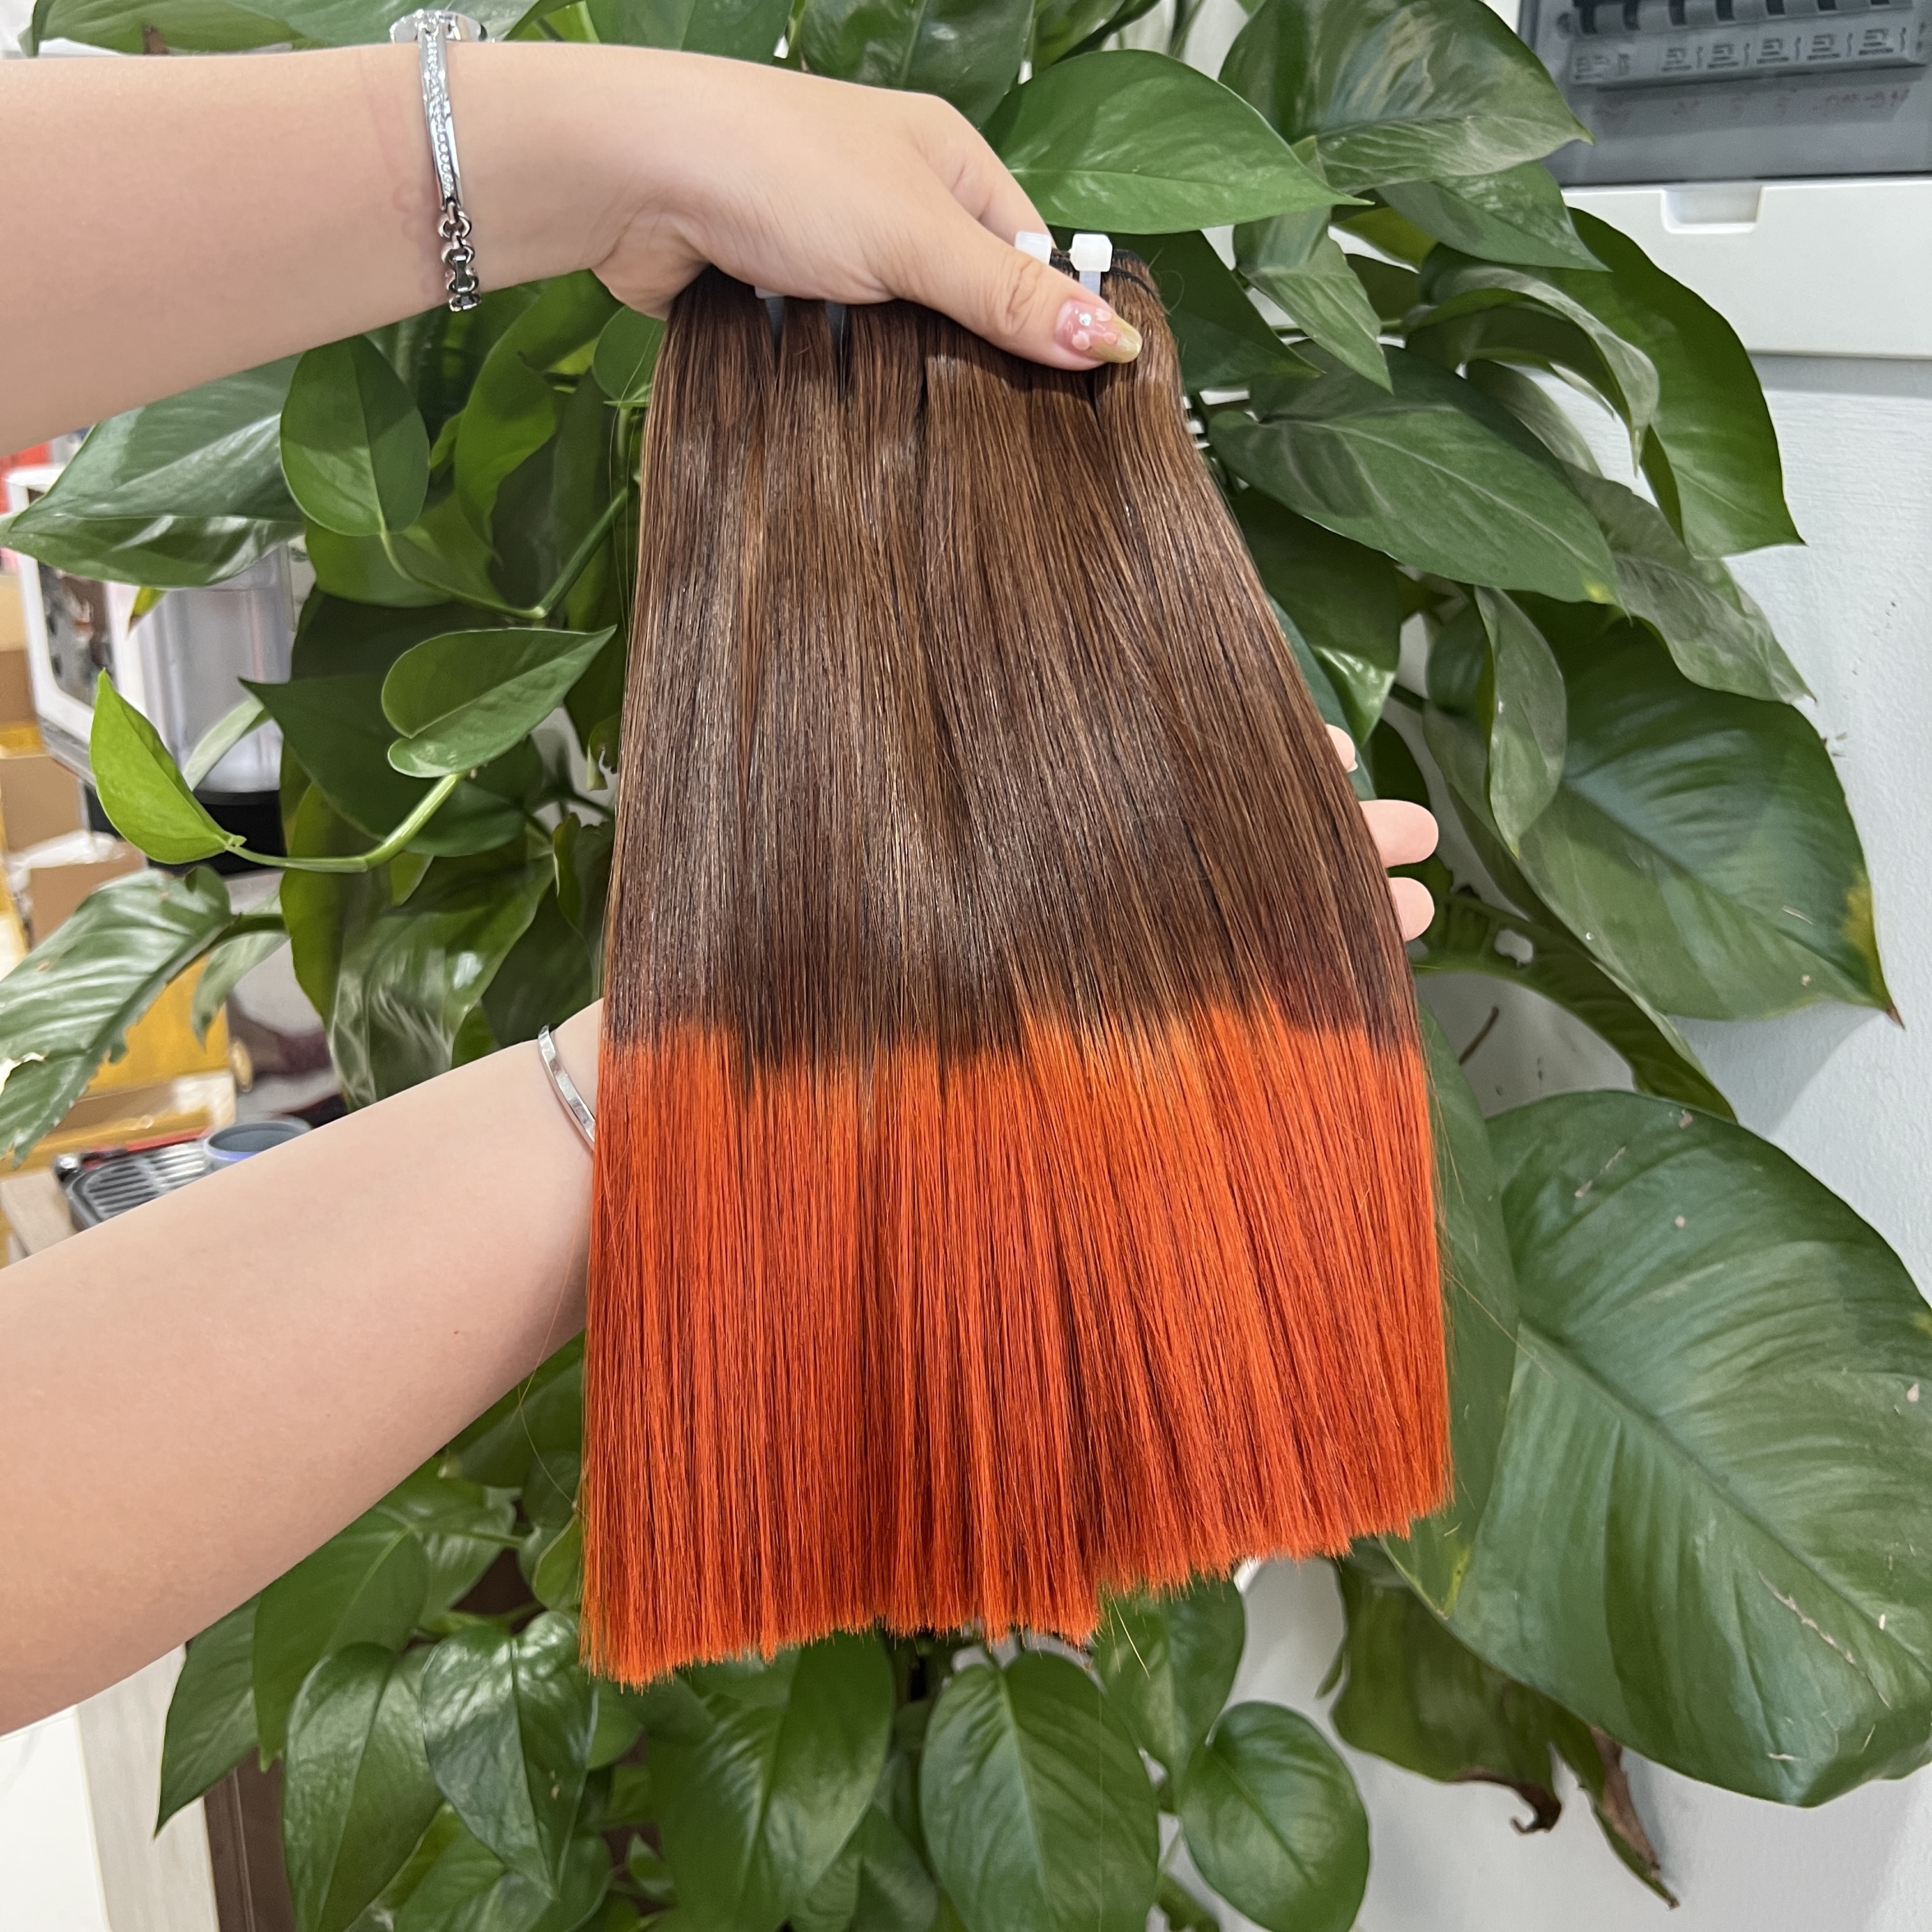
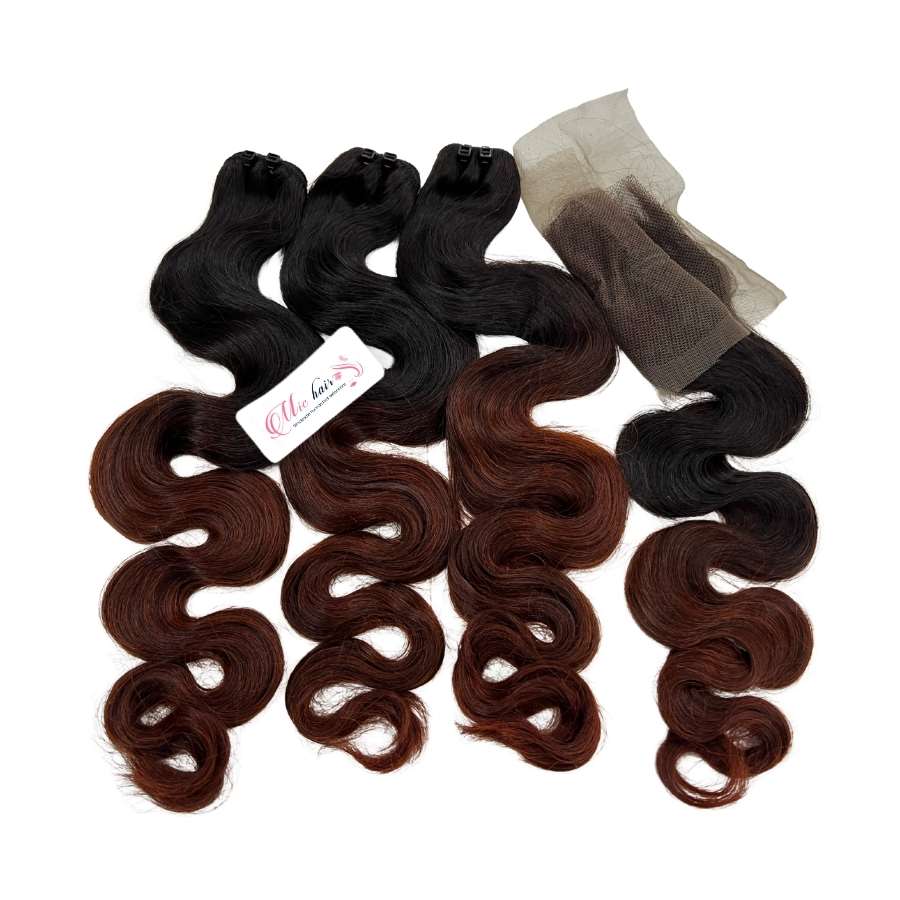
Ombre Burnt Orange & Brown Body Wave Machine Wefts
from $26
Want to get updates on Michair news?
Connect now using
Don’t have an account?
Data updating
Please wait a moment