Last updated date Thu Jan 11 2024 By William Brown
Washing clip-in hair extensions is an essential part of their care routine. mistakes that can lead to damage or decreased longevity of their extensions. In this blog, we will talk about the comprehensive guide to wash clip-in hair extensions. By following these steps, you'll ensure that your clip-in hair extensions remain tangle-free, clean, and shiny, ready for any occasion
Content [hide]
Clip-in hair extensions should be washed every 15-20 wears, or sooner if they feel heavy, sticky, or tangled due to product buildup. Dull appearance, dryness, or an unpleasant smell are also signs they need cleaning. Washing at the right time helps restore softness, shine, and makes styling easier. Follow our step by step guide on how to clean clip-in extensions to make your strands look and feel as good as new.
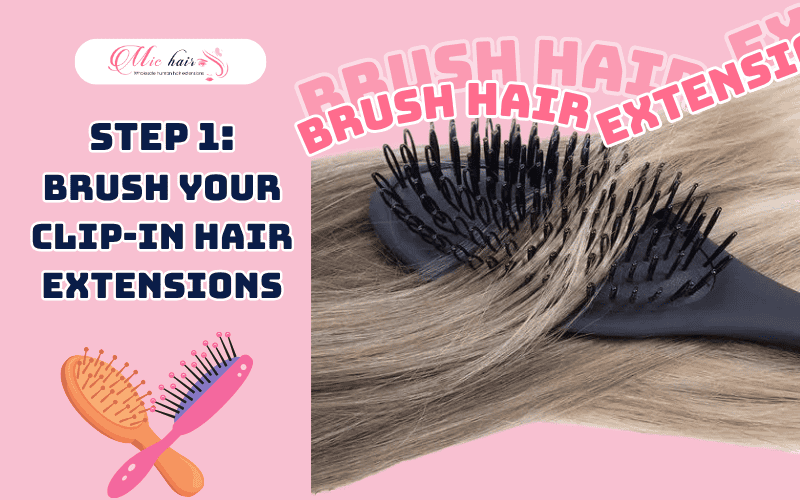
Before starting, ensure that your clip-in hair extensions are not wet. Brushing wet clip-in hair extensions can put pressure onto the tracks which can cause snapping over time. Brushing before washing is a crucial clip-in hair extension care tip that helps keep the strands tangle-free and prevents breakage. First, lay your clip-in hair extensions flat on a clean surface. Then, gently brush through them using a soft-bristle brush or wide-tooth comb to avoid pulling or breakage. Next, divide the extensions into small sections. Carefully detangle each section by brushing from the ends and working your way up to the roots. This step helps ensure all knots and tangles are removed, making the washing and drying process much smoother and preventing damage during handling.
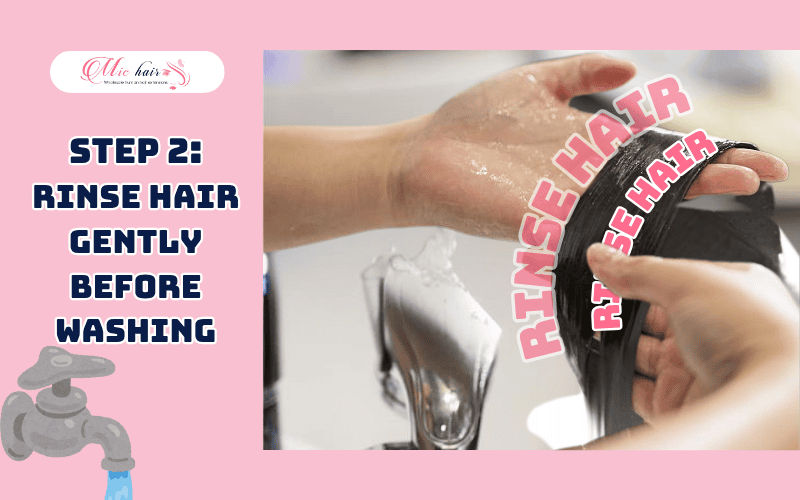
Make sure your sink is clean, plug the drain, and fill it with lukewarm water - avoid using water that’s too hot or too cold. Add a small amount of sulfate-free, alcohol-free shampoo to the water and swish gently to create a mild lather. Carefully submerge the hair part of the extensions into the water, making sure to keep the clips above the water to prevent rusting. This pre-rinse helps loosen buildup before the main wash.
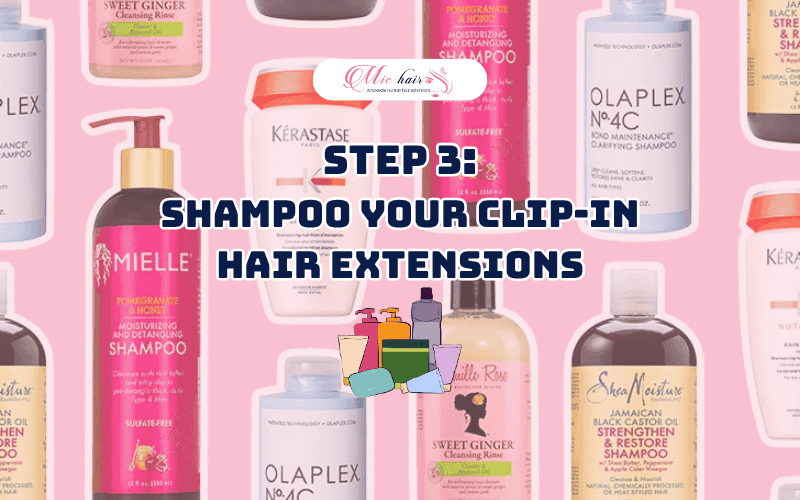
Start by wetting the extensions with lukewarm water. Take an enough amount of deep cleaning shampoo on your palm and spread it over your clip-in hair extensions. Use a sulfate-free shampoo for extensions, as it gently cleanses without stripping moisture. This is essential for cleaning clip-in extensions while keeping them soft and healthy. After 3-5 minutes massaging clip-in hair extensions, rinse it under lukewarm water to remove the shampoo. Ensure the shampoo is fully rinsed out before proceeding to Step 4: Condition Your Clip-in Hair Extensions.
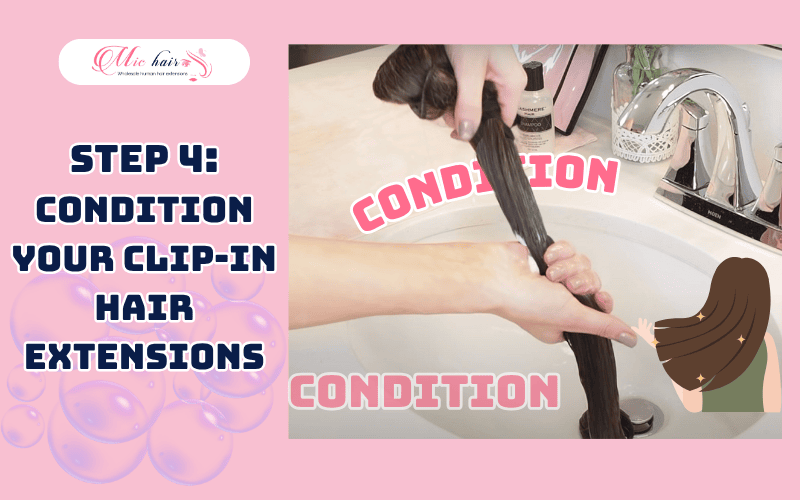
Conditioning not only helps to keep the hair soft and moisturized, but it also helps to prevent tangling and shedding, ensuring that your extensions stay looking fabulous.
Use a product that is specifically formulated for use on clip-in hair extensions or one that is suitable for dry and damaged hair.
Be sure to distribute the conditioner evenly throughout the hair, focusing on the mid-lengths and ends where the extensions are most prone to dryness. Gently work the conditioner through the hair using your fingers or a wide-toothed comb, being careful not to tug or pull on the extensions.
Let the conditioner sit for a few minutes so it can deeply penetrate the hair and deliver maximum hydration. Then, rinse your clip-in hair extensions thoroughly with lukewarm water to remove all excess product. It’s important to ensure that no conditioner is left behind, as any residue can weigh the hair down and leave it looking greasy or dull.
After rinsing, gently squeeze out any excess water from the extensions and pat them dry with a soft towel. Avoid rubbing or twisting the hair because this can cause further damage and lead to tangling.
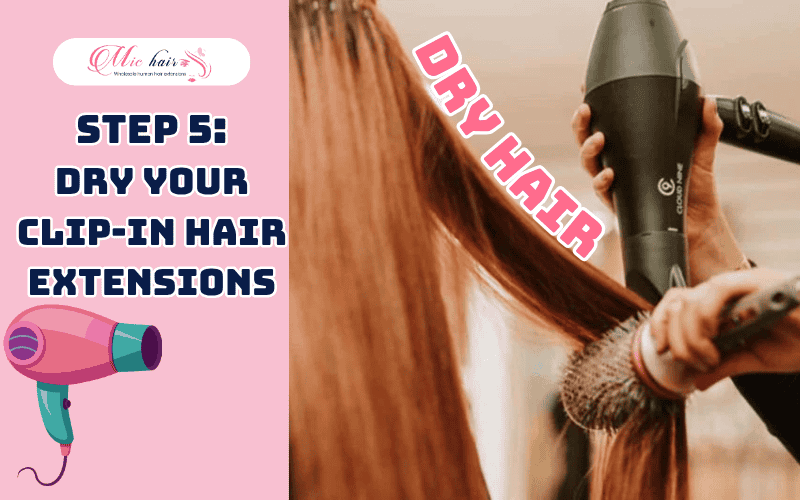
To dry clip-in hair extensions completely, Michair highly recommends you let your hair air dry. However, if you are in a hurry, a blow-dryer will help. Before using a blow dryer, note to protect your clip-in hair extensions from heat damage. This step not only protects your extensions but also keeps them looking shiny and healthy.
When it comes to blow-drying your clip-in hair extensions, it's important to choose the right heat setting. Opt for cool or medium heat to prevent any potential damage. High heat can cause your extensions to become brittle and lose their natural shine. By using a cooler setting, you ensure that your extensions stay in top condition for longer.
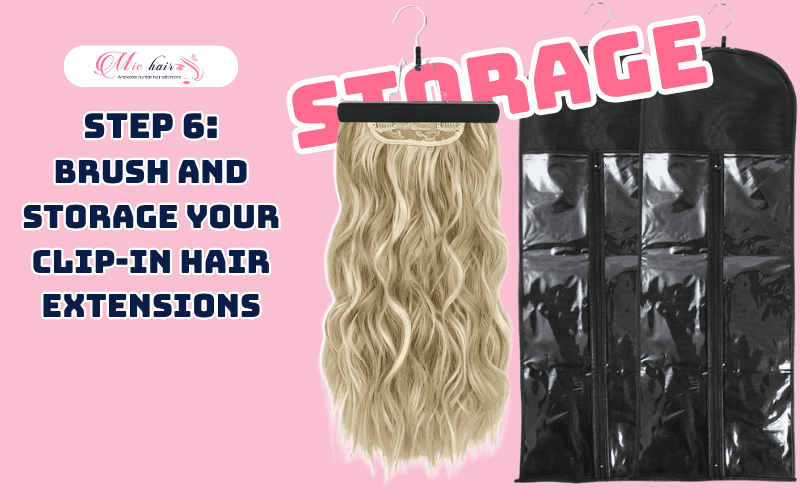
Once the extensions are completely dry, give them a final brush using a wide-tooth comb or soft-bristle brush. This step helps eliminate any remaining tangles and leaves your clip-ins looking smooth, neat, and ready to wear. After that, follow proper tips on how to store clip-ins to extend their lifespan.
Store in a breathable bag or original packaging.
Keep them in a cool, dry place away from sunlight.
Avoid storing them while still damp to prevent mildew.
1. Can I get my clip-in extensions wet?
Yes - but only when they’re removed. Avoid getting them wet while wearing, as it can cause tangling and slipping.
2. Can I shower with clip-in extensions on?
No. Always take them off before showering to prevent damage. Only permanent extensions can be washed while worn.
3. Do I need to wash Michair extensions before wearing them?
Not required, as they’re ready to use. But some prefer washing them once for a fresh start.
4. Should I wash clip-in with hot or cold water?
Use lukewarm water. Hot water dries out the hair, while cold water may not clean effectively.
5. Should I be gentle when washing my clip-in extensions?
Yes. Always handle your extensions gently to avoid breakage and prolong their lifespan.
6. Can I sleep with clip-in extensions?
No. Sleeping with clip-ins can lead to pulling, hair loss, and damage to both your natural hair and the extensions.
7. What hair products should I avoid using?
Avoid sticky products like gel, wax, or hairspray. They cause buildup and dryness. Use gentle products with short, clean ingredient lists for best results.
8. Can I use regular shampoo?
It’s best to use sulfate-free, alcohol-free shampoo made for extensions to avoid dryness and buildup.
If you have any questions, you can refer to things that you should do and should not do about clip-in extensions or contact Michair Company now for quick support.
In conclusion, knowing how to wash clip-in hair extensions the right way helps you keep them looking fresh and long-lasting. With just a few simple steps, you can clean your extensions without damaging them. By following this guide from Michair, you'll feel more confident in maintaining your clip-in, ensuring they're always ready to complete your favorite hairstyles.
Looking for more tips or want to shop high-quality clip-in extensions?
Visit Michair.vn to explore expert guides and premium 100% human hair products trusted by salons and professionals worldwide!
>> Read more: https://michair.vn/blogs/classic-clip-in-hair-extensions-vs-seamless-hair-extensions <<
SHARE
Hairstylist
William is a professional hair stylist with over 10 years of experience. He is passionate about creating personalized, trendy looks for his clients and specializes in hair treatments and updos. He is now a certified hair adviser for Mic Hair Company. His articles are always filled with advice, pro tips, and latest hair research results.
RELATED POSTS
you may like
Recommended Products
(2 Reviews)
High Quality Piano Brown Straight Weave Bundles - MICHAIR
from $20.9
(3 Reviews)
Vietnamese Orange Color 5x5 Lace Closure Straight - MICHAIR
Contact us
(2 Reviews)
Vietnamese Dark Brown Straight Bulk Hair - MICHAIR
Contact us
(2 Reviews)
High Quality Vietnamese Magic Curly Hair Weave - MICHAIR
from $14.9
Want to get updates on Michair news?


Connect now using
Don’t have an account?
Data updating
Please wait a moment
