Last updated date Thu Mar 28 2024 By William Brown
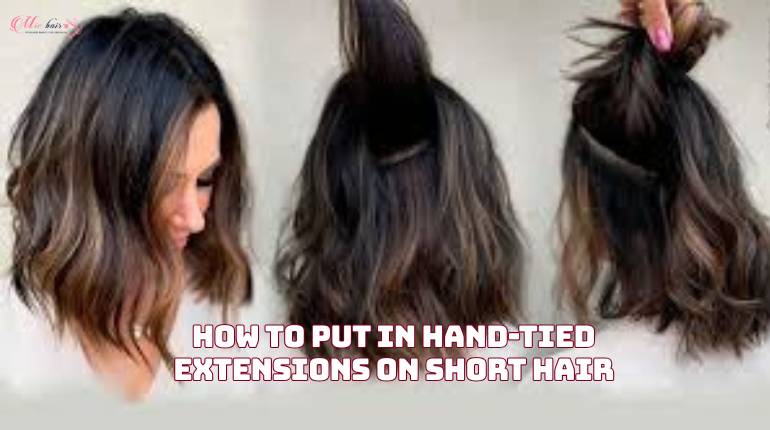
Do you want to own a perfect hair extension that can be customized to your liking? Have you ever thought about making your clip-in hair extensions at home? Interestingly, you can freely choose your clip-in hair extensions' color, length, and texture. It sounds difficult but it's effortless with 4 steps that Mic hair will guide you below.
Content [hide]
Before letting you know how to make clip-in hair extensions, we will introduce what clip in extensions are and what you need to make a perfect clip in extension.
Clip-in hair extensions are a type of extension where the hair is attached to a small metal clip, which is easily installed into natural hair using the clip to clip in. Like other types of hair extensions, the materials used to make hair extensions can be human hair or synthetic hair. However, real human hair is still the priority because it is natural and does not cause stress to the hair roots.
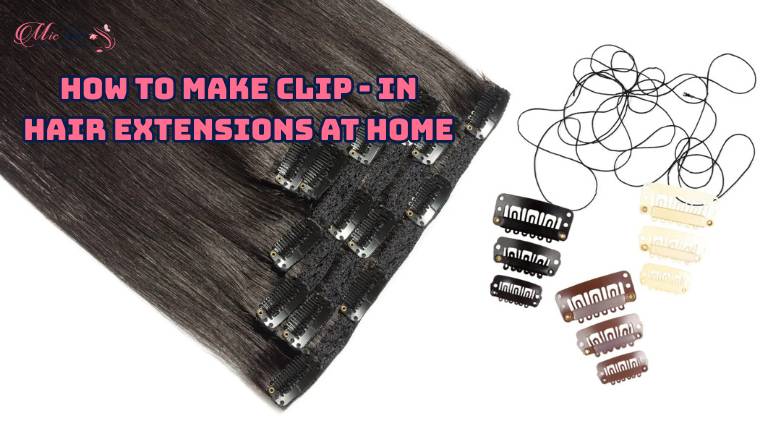
A few materials and tools required to make your clip-in extensions are readily available anywhere. Some of them are as follows:
- Virgin human hair wefts
- Wig clips
- A soft mesh
- Wig block
- A pair of scissors
- A curved sewing needle
- Thread
- Measuring Tape
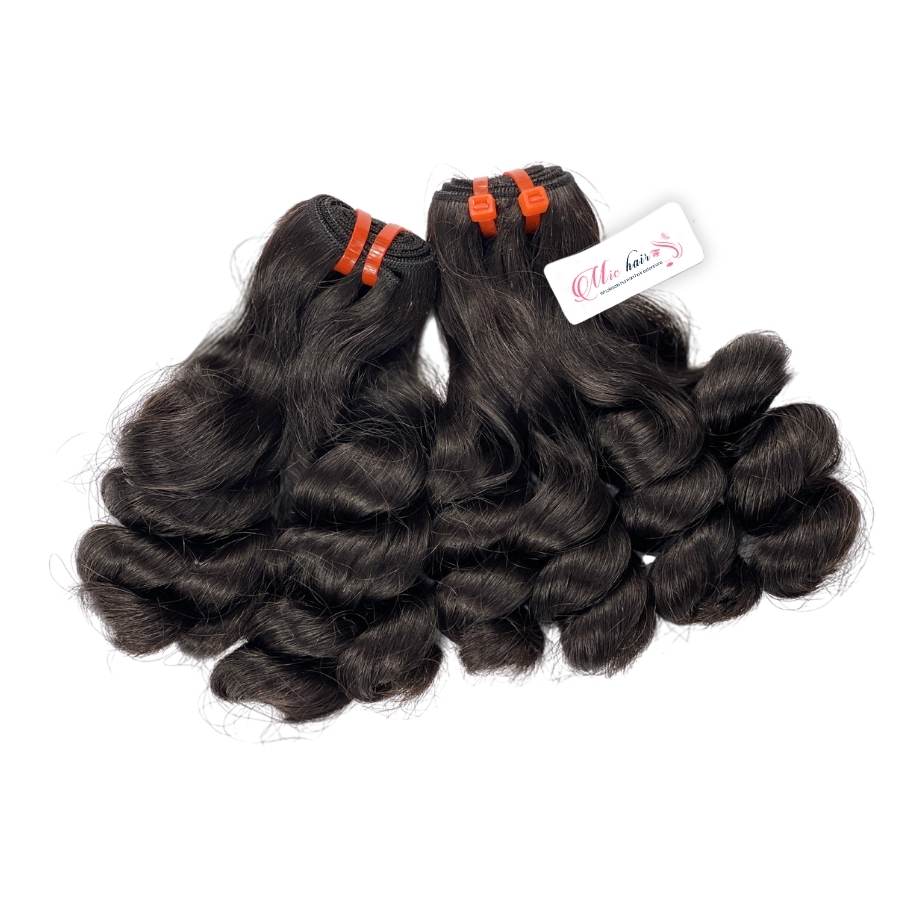
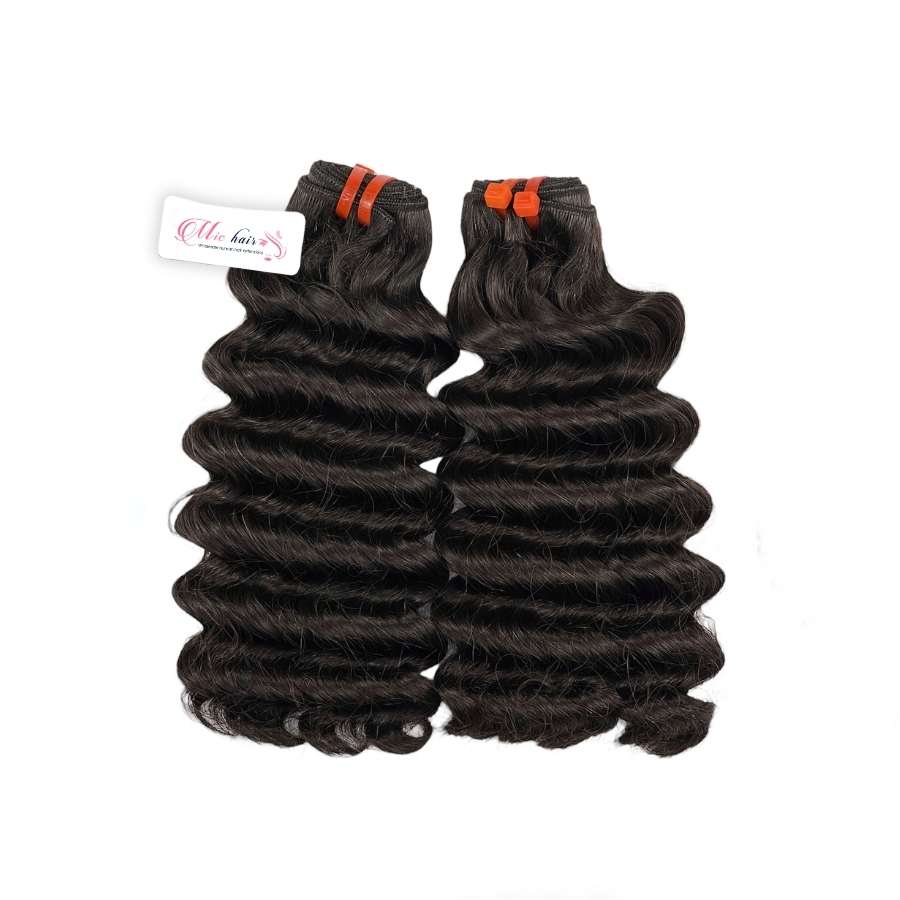
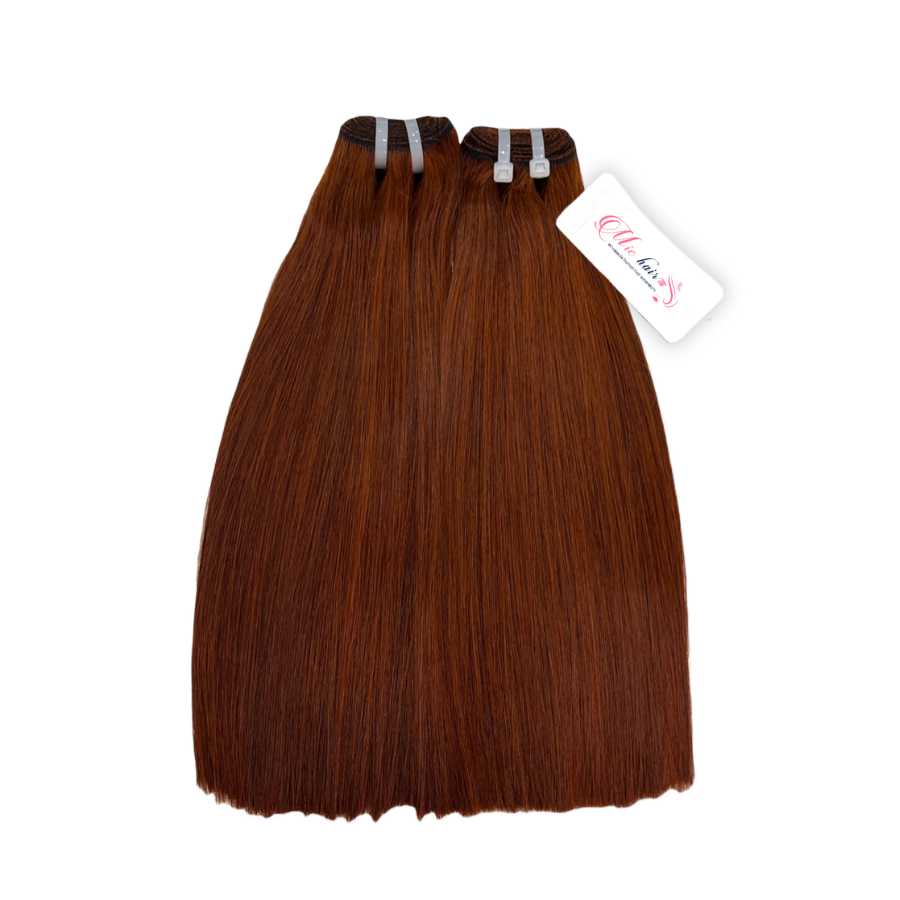
Make sure you choose weave hair as a material made from 100% human hair produced by reputable companies like Mic Hair. Real human hair is smoother and softer. Moreover, longevity is always better. You should buy a hair weave from a Vietnamese hair vendor, their weave is high quality and easy to clip-in hair extensions.
Make sure that the color of your hair extensions matches your natural hair color. You should check the color thoroughly because each hair color has many shades and if you make a wrong choice, you will have to spend more to redye it. Ditto the texture: It’s so weird if you have 2 unmatched hair textures. We recommend to you some types of hair weaves commonly used to make popular clip-in hair extensions such as: raw human hair weave bundles, curly weave hair…
To save money, choose the exact length you want. Many women buy hair from vendors with a length that is longer than they need and have to cut it off about 2-3 inches after. With 2-3 inches excess, you have to spend more than you need at around 20%.
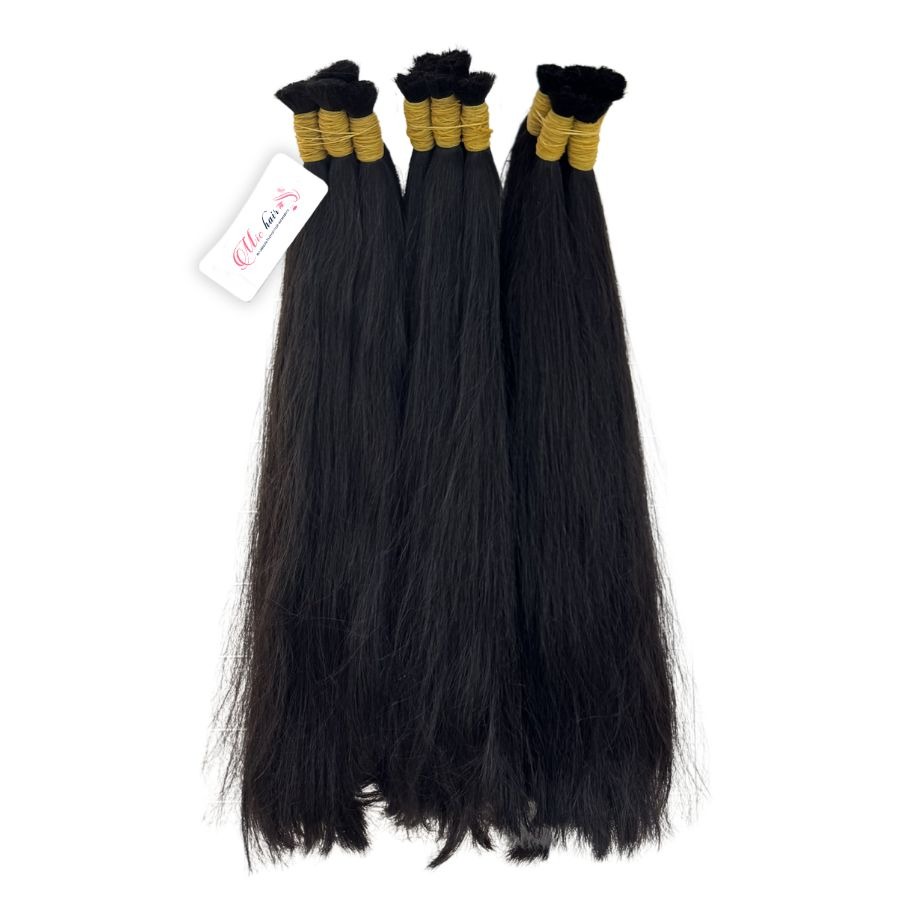
Some people may choose bulk hair as raw hair to save costs. However, using bulk hair to make clip-in hair extensions requires high skills and is usually only used by specialized manufacturers because it is difficult to put single strands of hair into the clip evenly.
Do you know how to make Clip In hair extensions at home? We will make you know how to make Clip In hair extensions step by step.
First, you need to thread your sewing needle. Tie a small knot together using the open ends.
Use the weave bundles you have prepared and proceed to duplicate the weft with a needle and sewing thread. Double the weft ensures a thicker look.
At this step, you can double the wefts by folding the seam of the hair bundles in half and sewing them together normally. Or use a fixed soft mesh on the wig block to sew the seams of hair bundles into each layer easily and without shifting during the sewing process. Make sure to tie knots on both ends so that the thread will not loosen up.
Or you can also choose Mic Hair's double drawn hair type with guaranteed thickness.
Step 2: Measure and cut the hair
Once you have finished sewing the weft, measure the nape of your neck. According to that measurement, you can cut your weft to the size you desire. Always cut the weft from above to avoid any damage.
It is very easy to buy clips at accessory stores (Don’t forget to choose clips with matching colors). Things that you have to do now is attach the clips. Now take the clip-ins you bought and snap them open and keep them aside. With the comb on the outside, start clipping the hair extension you just cut. Now using the thread and needle, sew the clip with the hair. You will need two clips for one portion of the hair. Sew the clips at both ends of the weft. Go through the hole on the clip at least twice to make sure it’s secure.
You should use small pieces of clip in extensions instead of a wide back piece. When you sew clips on, the best gap between 2 clips is around 2 inches. Do not use a clip in with more than 6 inches in width to make clip-in hair extensions look more natural-looking.
The clip snaps shut by pressing the sides down and opens by pressing in the center. You should try to open and close the clips before sewing them firmly to not end up with the combs opening in the wrong direction.
At this step, you are sure to own clip-in hair extensions made by yourself. It's simple and great, right? Are you ready to install it and style it now? You can trim them up to blend in with your hair.
And that’s how you make your DIY clip-in extensions at home. Simple, easy, and affordable.
Advice from hair extension experts of Mic Hair:
Don't forget to remove clip-in hair extensions before wash or sleep to avoid tangling your hair
All the clip-in hair extensions should be covered by your natural hair. So do not put any clips very close to the hairline around your face.
Care for hair extensions just like natural hair so they can be used for a long time. Do not blow-dry or squeeze the clip-in hair extensions. Combing wet hair extensions is not advisable too. Once the hair extensions are dried, you can brush them neatly to avoid any knots. Always store them in a place where lots of moisture, heat, and dust do not enter and ruin your hair extensions.
Conclusion
After this article, I hope you know how to make clip in hair extensions at home perfectly. This is one of the inexpensive and most accessible ways to make clip-in hair extensions at your own home. You only have to spend a little money to buy the materials for making these. Now say goodbye to thin and low-density hair. Let it be a party, a wedding, or a casual day. Attach these hair extensions the way you like and style your hair.
SHARE
Hairstylist
William is a professional hair stylist with over 10 years of experience. He is passionate about creating personalized, trendy looks for his clients and specializes in hair treatments and updos. He is now a certified hair adviser for Mic Hair Company. His articles are always filled with advice, pro tips, and latest hair research results.
RELATED POSTS
you may like
Recommended Products
(2 Reviews)
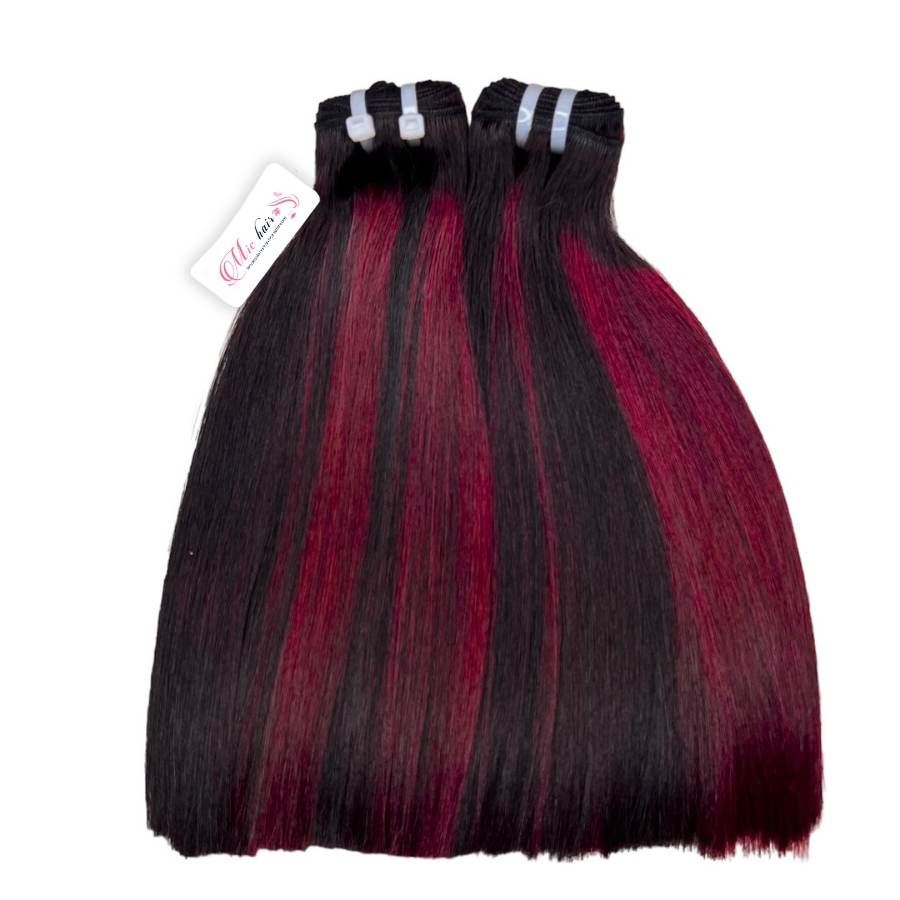
Piano Highlight Straight Machine Wefts (Black and Burgundy)
from $23.9
(3 Reviews)
Ombre Bone Straight Machine Wefts (Brown and #613 Blonde)
from $32
(2 Reviews)
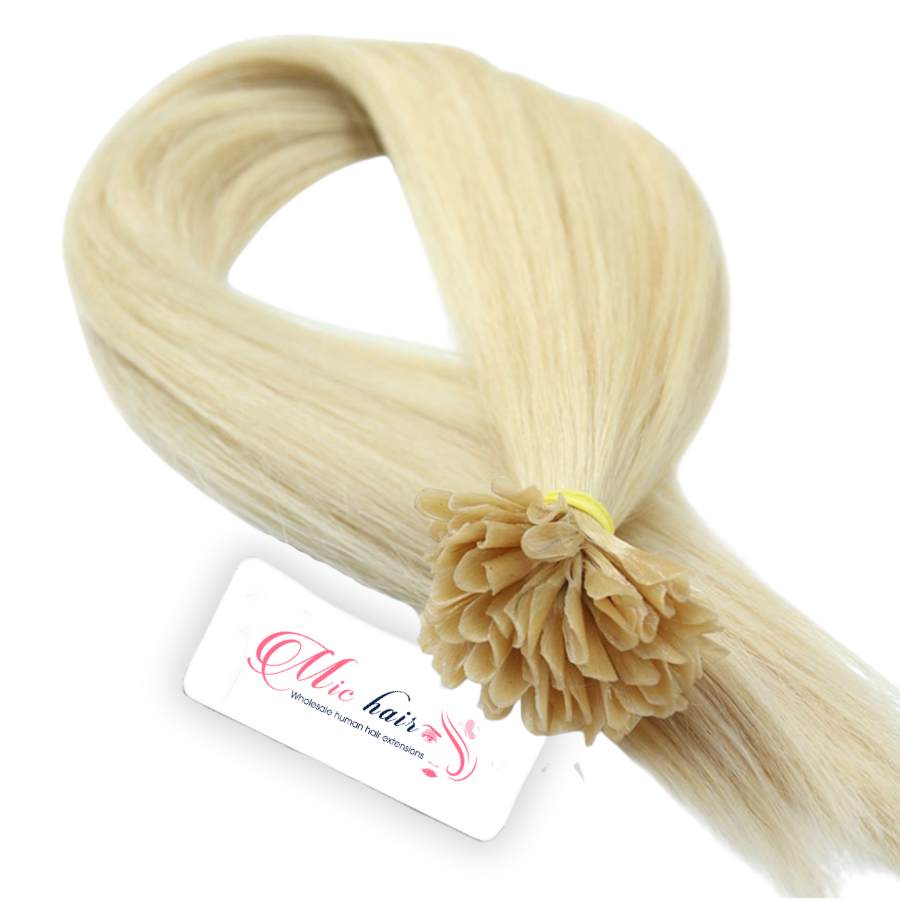
Pre-Bonded Blonde U-Tip Hair Extensions (Color #613, K-Tip)
Contact us
(3 Reviews)
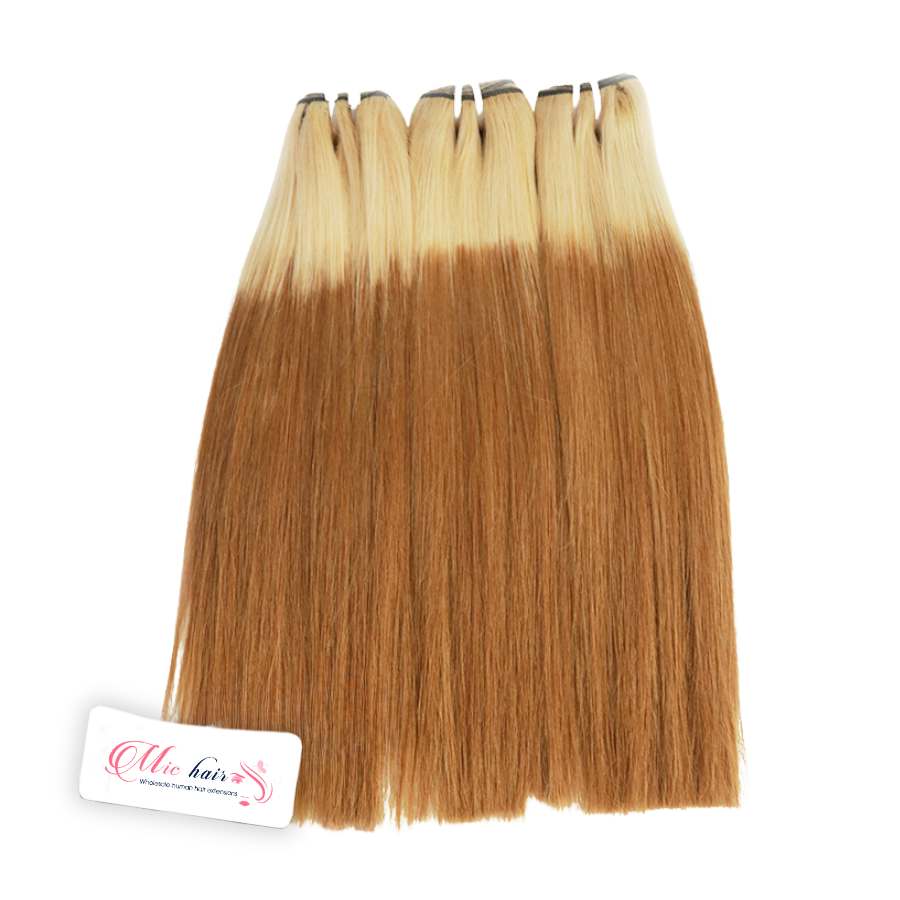
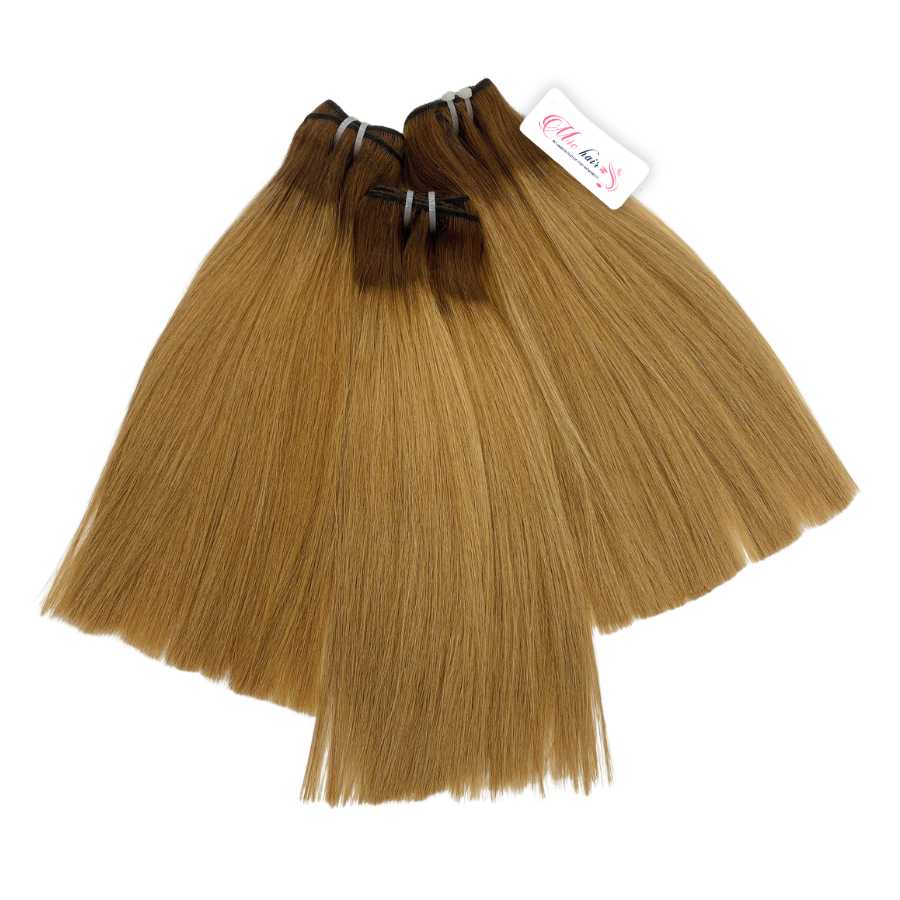
Ombre Straight Machine Wefts (Brown to Gold Blend)
from $20.4
Want to get updates on Michair news?
Connect now using
Don’t have an account?
Data updating
Please wait a moment