Last updated date Fri Apr 26 2024 By William Brown
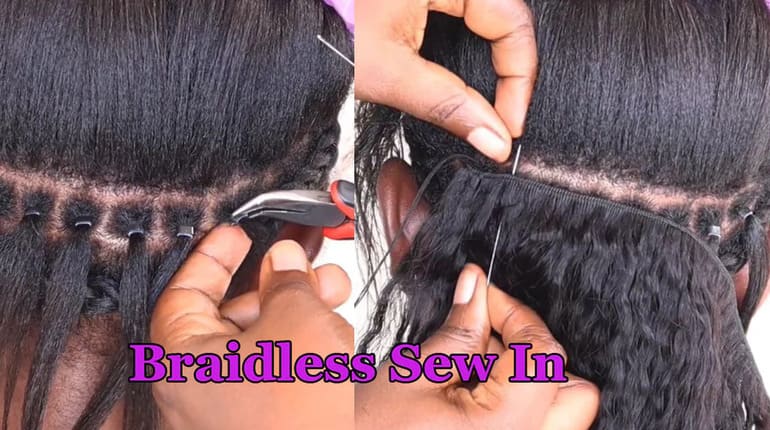
Traditionally, sew-in extensions require braiding natural hair into cornrows as a foundation for connecting wefts of hair with a needle and thread. While successful, this procedure can occasionally produce scalp discomfort or strain, and it may not be appropriate for people with sensitive scalps or fine hair. Enter the braidless sew-in technique, which is a game changer in the world of hair extensions.
Content [hide]
So, what exactly is a braidless sew-in? As the name implies, it eliminates the need to braid natural hair as a foundation. Instead, the extensions are secured with micro-links, beads, or silicone-lined beads that are clamped to small portions of natural hair. This not only gives a more pleasant and lightweight option, but it also decreases the danger of natural hair breakage from tight braids.
Unlike traditional sew-in, this technique does not include braiding the hair down. As a result, the scalp, including the weave, will have more breathing space. This ensures that your cleaning practices consistently promote skin health and lustrous hair. The weave requires a minimum length of five inches of hair. This allows you to create a ponytail or other hairstyles.
Braidless sew-in would last for about 8 weeks, depending on how rapidly your natural hair grows. The whole procedure takes 4 hours to complete.
In order to properly do the braidless sew-in technique, you will need to prepare several tools and follow the procedure:
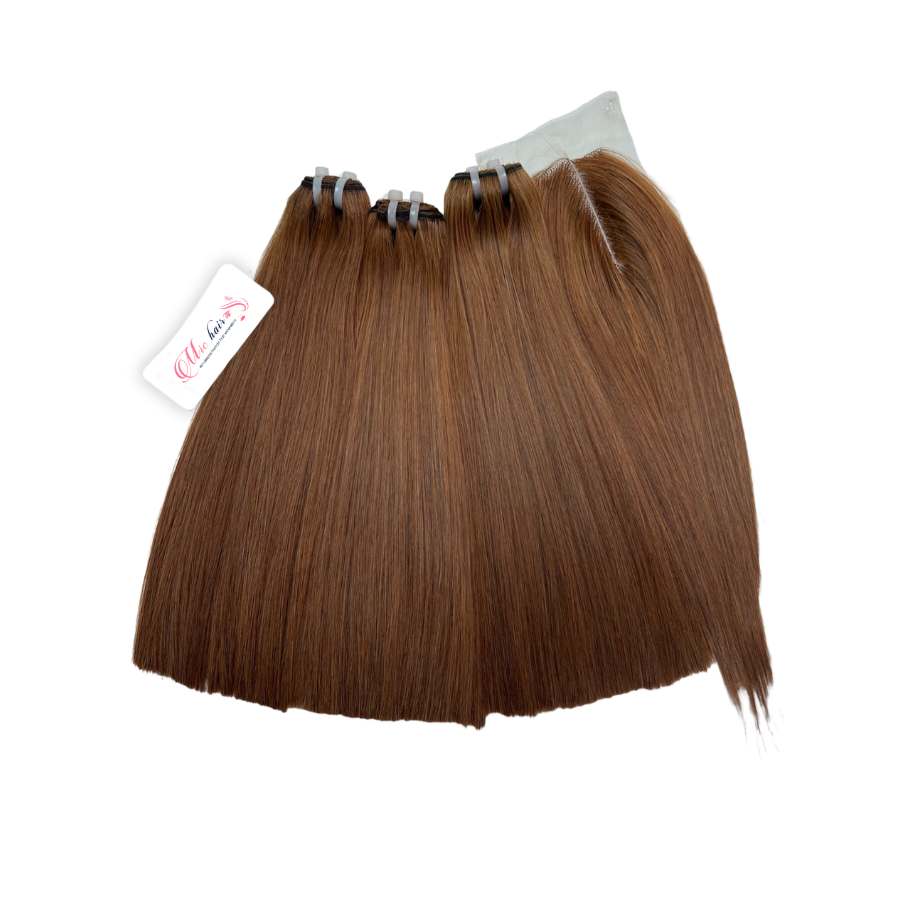
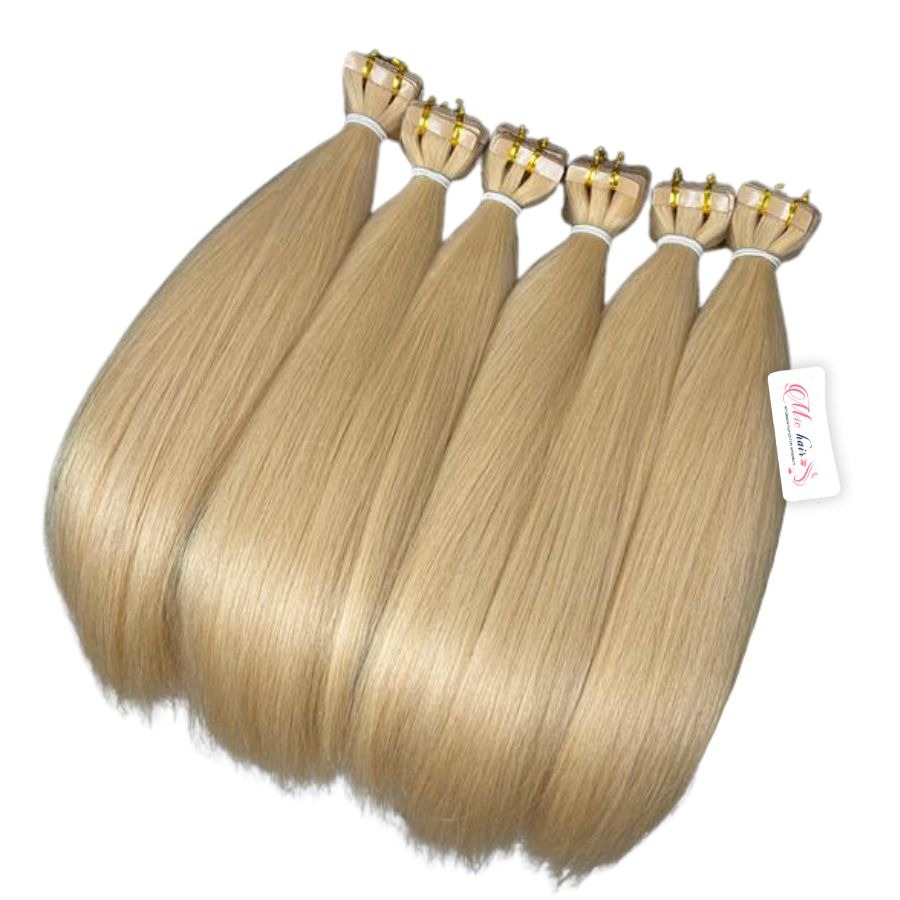
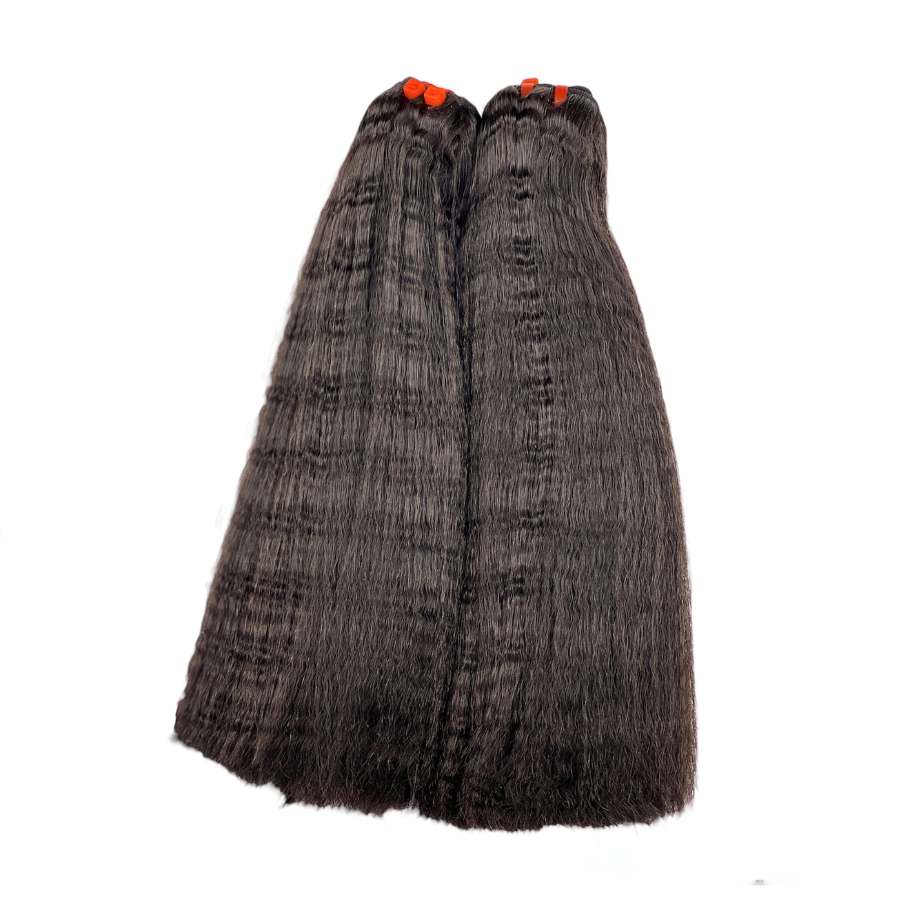
- Weft hair extension bundles.
- Silicone beads that match the color of the hair.
- Nylon thread that matches the color of the hair.
- Hair threader.
- Hair pliers.
- Hair clips.
- Rat tail comb.
Wash and condition the natural hair thoroughly, ensuring it's clean and free of any product buildup.
Blow-dry or air-dry the hair completely before starting the process.
Use the rat tail comb to divide the hair into tiny, equal portions. The size of the sections will be determined by the number of wefts you intend to put in and the thickness of your natural hair.
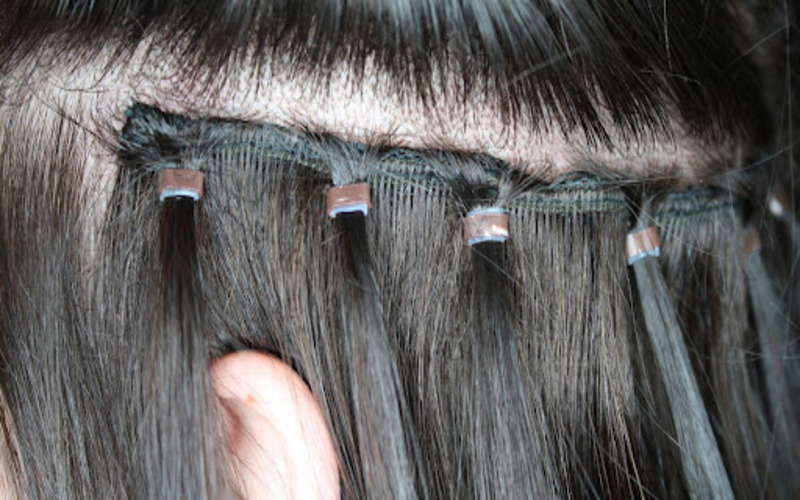
Thread a short piece of natural hair through a silicone bead.
Slide the silicone bead near to the natural hair's roots, providing a tiny gap for mobility and preventing scalp stress.
Close the silicone bead tightly using pliers, making sure it's tight enough to hold the hair in place but not so tight that it causes irritation.
Thread a needle with the same color sewing thread as the wefts.
Take a weft of hair extensions and place them below the original hair, near the silicone bead.
Stitch the weft to the natural hair in a looping motion, passing through both the weft and the silicone bead. Make sure to attach the weft securely but not too tight.
Continue sewing the wefts into the natural hair, working in tiny pieces from one side to the other, until the required volume and length are attained.
Trim any extra thread and hair to achieve a smooth mix of extensions and natural hair.
Style the hair anyway you choose, whether straight, curled, or a different texture.
>> Read more: How Long Do Sew in Hair Extensions Last? <<
One of the primary advantages of the braidless sew-in process is its adaptability. Unlike traditional sew-ins, which are limited by the direction and size of the braids, braidless sew-ins provide more style options. Whether you choose to wear your hair up in a ponytail or down in loose waves, the lack of heavy braids allows for a more natural and seamless appearance.
Braidless sew-ins are ideal for a variety of hair types and textures. This technique may be tailored to your natural hair texture, whether it's straight, curly, or kinky. It's also an excellent choice for folks with fine or thinning hair, since extensions may give volume and fullness without the need for heavy braiding.
>>> Read more: 20 Must Try Sew-In Hair Extension Styles <<<
Another benefit of the braidless sew-in process is its durability. Braidless sew-ins can last six to eight weeks, or even longer if put together and maintained properly. This makes it an affordable alternative for people seeking a semi-permanent hair extension treatment.
One of the most common concerns that individuals have when purchasing a hair weave for a certain style is the potential damage to their natural hair. This hair extension will make you fall in love with it. There is no need for heat or adhesive to establish the hair connection. This minimizes the damage to your natural hair follicles.
Cornrows in conventional sew-ins can bring stress and tension to your edges, resulting in hair breakage. Braidless sew-in gives you the ability to shampoo your hair in between sessions, eliminating itching scalps.
Disadvantages Of Braidless Sew-in
Individuals with very fine, fragile, or damaged hair may experience breakage from the tension created by the micro rings. This method works best for those with medium to thick hair.
If not installed or maintained properly, the extensions may slip or loosen over time. Using the right hair products and following a proper care routine is essential to keeping them secure.
Improper installation or excessive tension from the micro rings can lead to discomfort, scalp irritation, or even hair loss over time. It’s important to have them installed by an experienced stylist.
>> Read more: What’s the Best Hair For Sew In Weave? <<
In conclusion, the braidless sew-in technique offers a modern and versatile alternative to traditional sew-in extensions. With its lightweight and comfortable feel, customizable styling options, and suitability for various hair types, it's no wonder why this method has become increasingly popular among those seeking to enhance their natural locks. Whether you're looking to add length, volume, or simply switch up your look, braidless sew-ins are undoubtedly worth considering for your next hair transformation.
SHARE
Hairstylist
William is a professional hair stylist with over 10 years of experience. He is passionate about creating personalized, trendy looks for his clients and specializes in hair treatments and updos. He is now a certified hair adviser for Mic Hair Company. His articles are always filled with advice, pro tips, and latest hair research results.
you may like
Recommended Products
(2 Reviews)
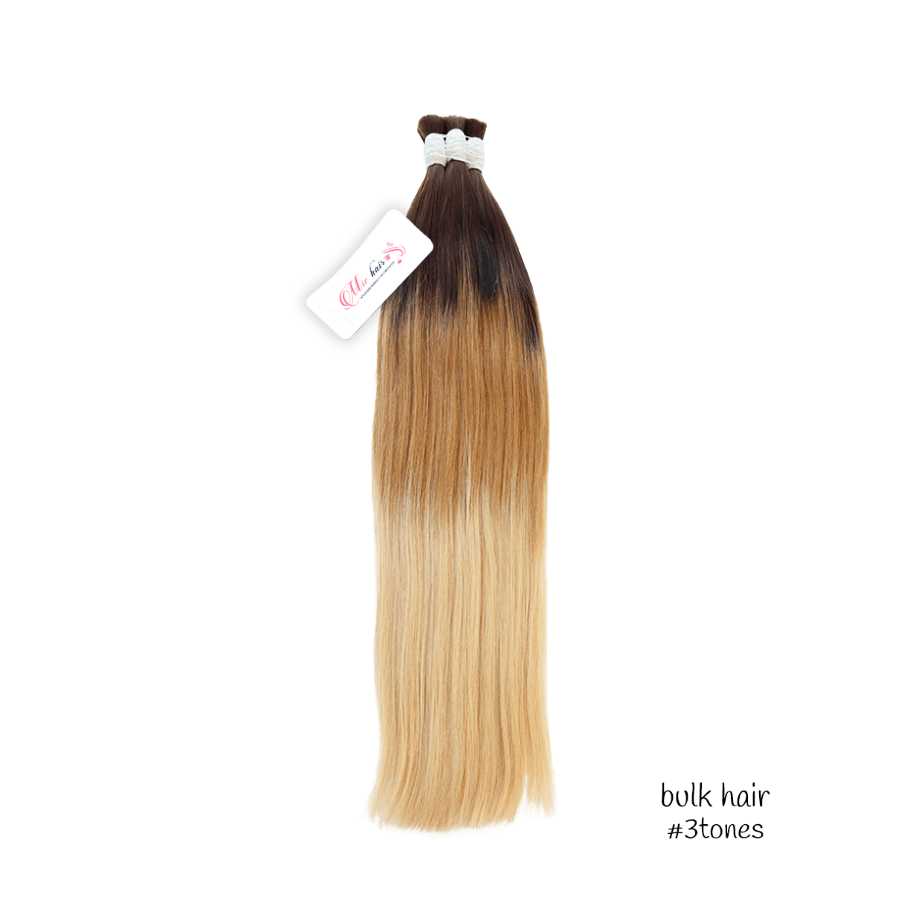
3-Tone Ombre Straight Bulk Hair (Unwefted Human Hair)
Contact us
(2 Reviews)
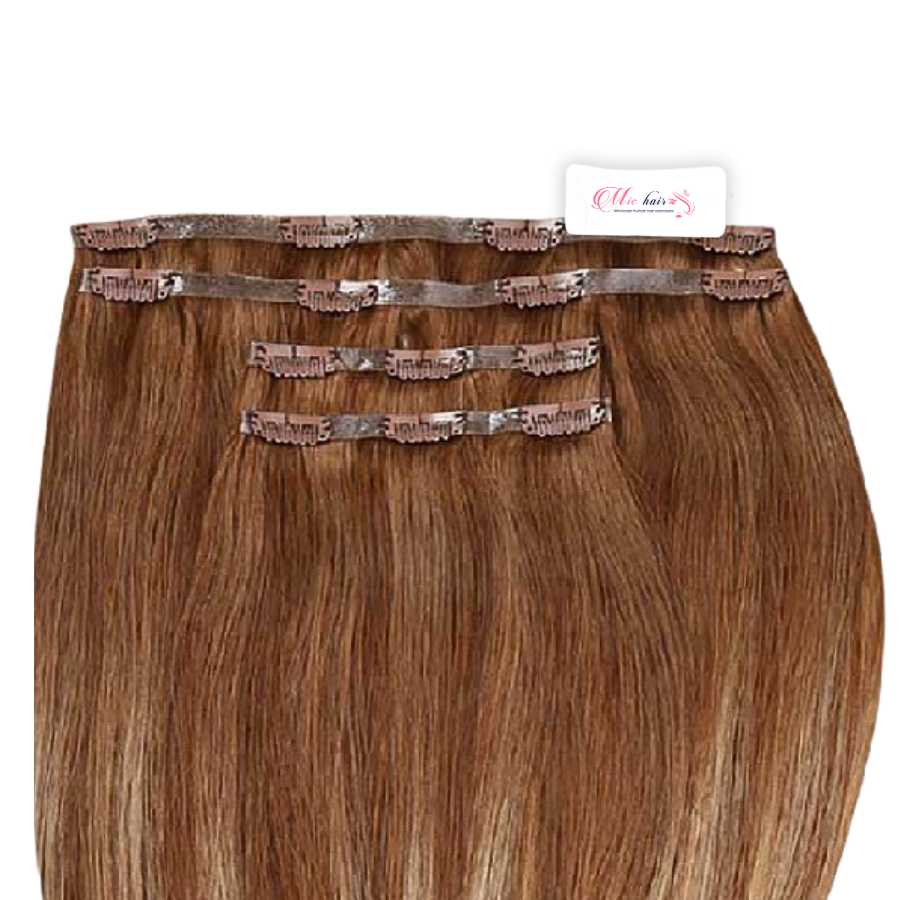
Seamless Straight Blonde Tape-In Extensions (Color #613)
Contact us
(3 Reviews)
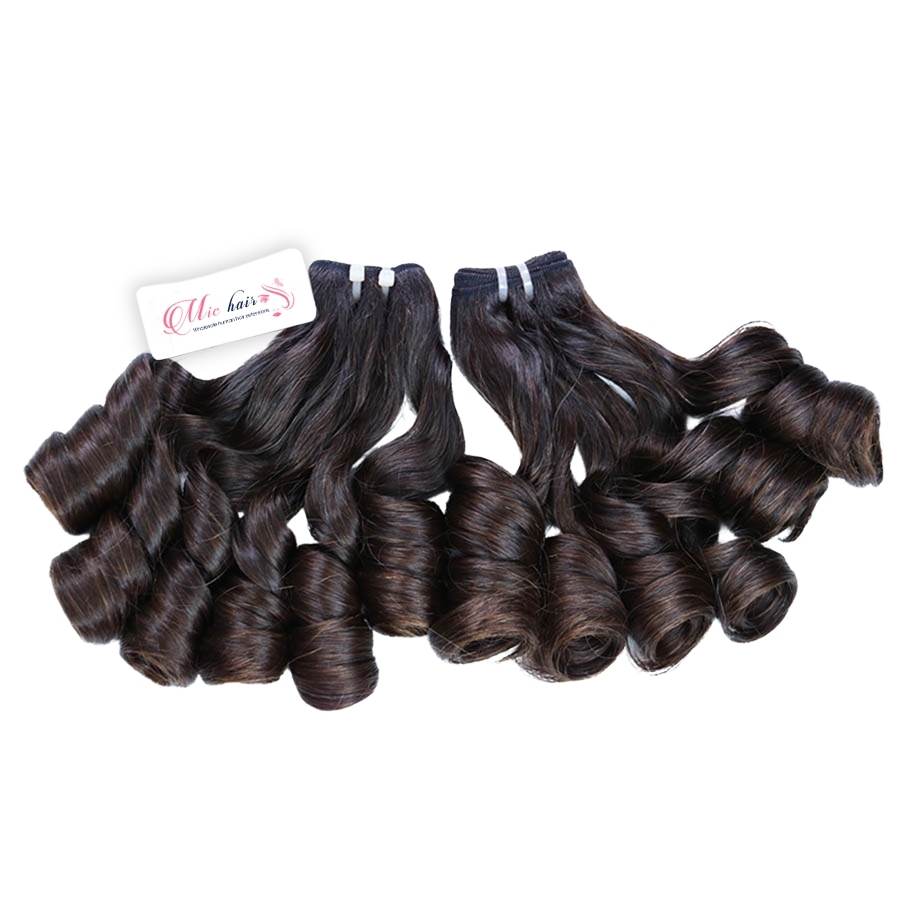
Jet Black Yaki Straight Machine Wefts (100% Human Hair)
from $21.4
(2 Reviews)
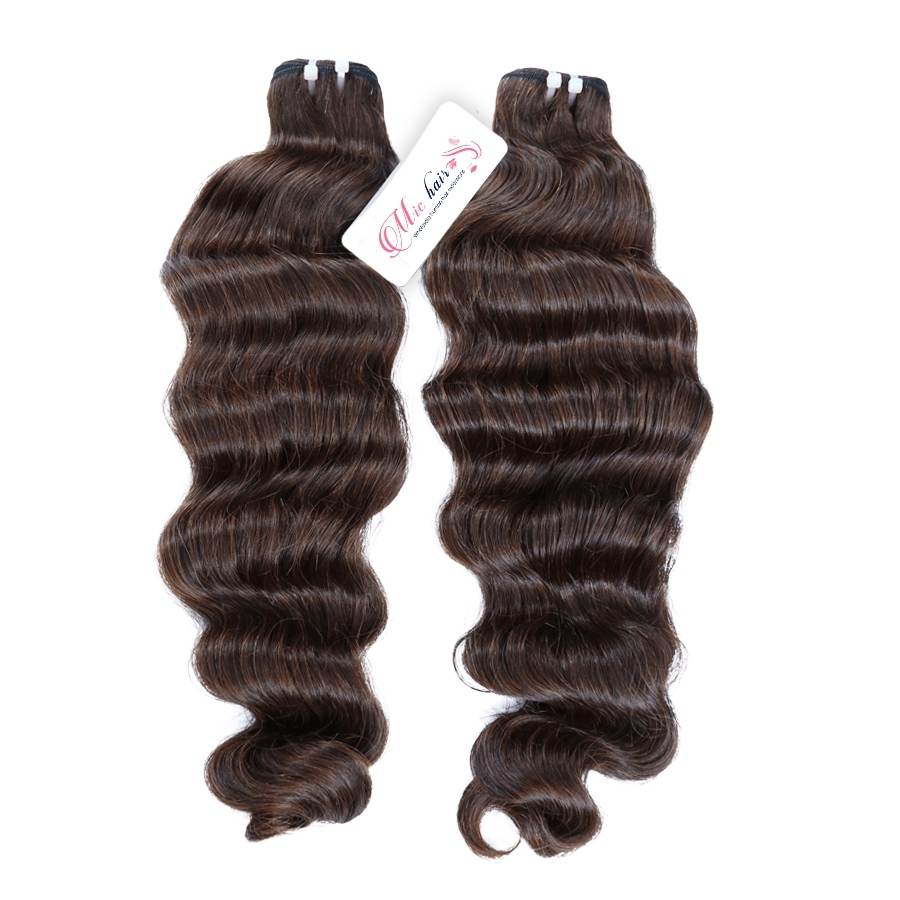
Raw Vietnamese Bone Straight Machine Wefts (Full-Density Ends)
from $23.5
Want to get updates on Michair news?
Connect now using
Don’t have an account?
Data updating
Please wait a moment