Last updated date Fri Jul 28 2023 By William Brown
With time, side part closure sew-in has become the most popular way of installing hair extensions. You might be wearing loose hair extensions that don’t look natural. There are various sew-in weaving techniques through which you can easily enhance and change the appearance. In this guide, we will explore everything related to sew-in hair extensions and how to sew in hair extensions.
Content [hide]
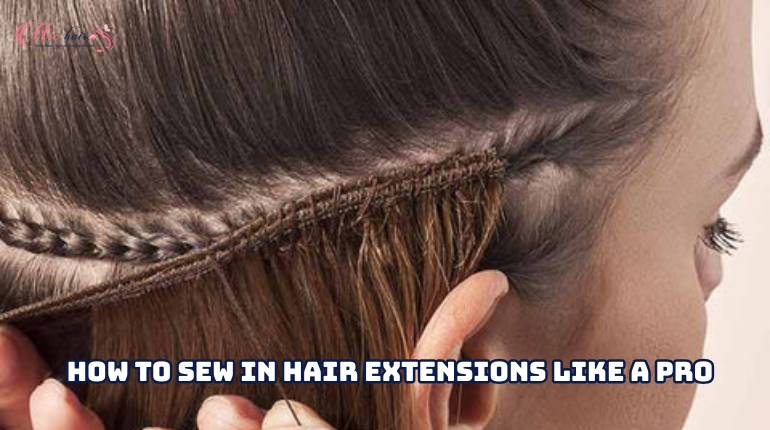
Sew-in hair extensions are a popular and versatile option for adding length and volume to your natural hair. To get sew-in extensions, a hairstylist will braid your hair tightly and then sew hair weft onto the braids using a needle and thread. This method provides a secure and long-lasting result. Sew-in extensions can be styled, colored, and cared for like your natural hair. They offer a seamless and natural look, making them a favorite choice among those seeking a stunning hair transformation.
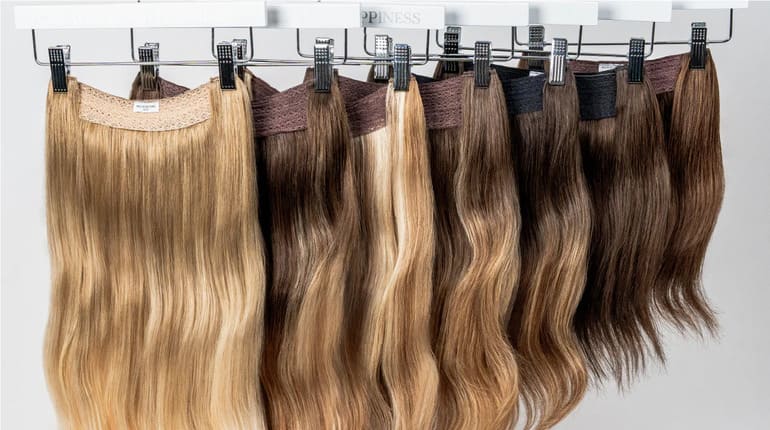
There are 2 main sew-in installation methods: traditional and braidless. Based on these two, you will have your hair extensions installed firmly to your natural hair. You can choose either machine-weft hair or hand-tied weft hair for both methods. In the following sections, Mic Hair will let you know how to sew in hair extensions with the traditional sew-in & braidless sew-in methods.
Prepping the hair is the first step you should take before using the sew-in hair extension techniques. Those who want their sew-in to last for more than a few months must ensure their braids are on point. Without preparation, the hair and scalp can get severely damaged during the sew-in process. No matter what method you select to install, you have to properly prepare for an easier process.
The first step in any hair styling process is washing and conditioning. This step allows you to have your hair cleaned and kept in natural shape. Moreover, conditioner helps your hair be soft and easy to style. You do not need to pay much for washing and conditioning your hair. All you need is to choose a sulfate-free shampoo and silicon-free conditioner.
Both braid and braidless methods require your hair to be separated into smaller sections, so detangling is very important. After your hair is 75% dry, use a detangling brush to comb your hair gently. Do not forget to comb from the bottom to the top of the strand.
- Hair bundles: Human hair bundles/Synthetic hair bundles
- Nilon threads & Curve needle
- Microbeads (Braidless method)
- Hair threader (Braidless method)
- Hair plier (Braidless method)
This is the best technique for those who want their sew-in hair extensions to last for a long time. You can select any stitch type, ideally the same color as your natural hair, to prevent sliding and secure the weft to the braids.
Firstly, separate your hair into small sections. Then you have to braid your hair to protect your scalp and reduce the pressure and tension on your natural hair. There are many braid patterns, and each of them has its pros and cons. After a long time of research, MIC Hair suggests the 5 best sew-in pattern hair extensions that you should refer to.
Thread your needle with the nylon thread that is silkier than the cotton one. Measure the weft and cut it into smaller pieces. Measure according to the braids, since each braid will have one piece of weft connected. To increase the volume, you can fold the weft to make it double.
When you start, take the hair weft and sew it onto the braided or netted base from the back. Begin on one side of the head and create the first stitch in the front. Remember to allow about a half-inch gap at the beginning and end of the cornrow. Otherwise, the wefts may be apparent. The curved needle should make it easy to go through the braid and piece of hair. Make sure that the first stitch is very tight and secure.
As you sew, continue moving horizontally from the back towards the crown of your head. It's important to sew close to the scalp to achieve a natural appearance. When you reach the top, cut the weft and secure it either by tying a knot or weaving the thread through the weft a few times. This will ensure that it stays in place securely.
Now that the first weft is in place, you will notice that it becomes simpler as you progress. Proceed to the next braid and repeat the entire process. Make sure the stitches are clean and crisp. That's it; the weave is finished.
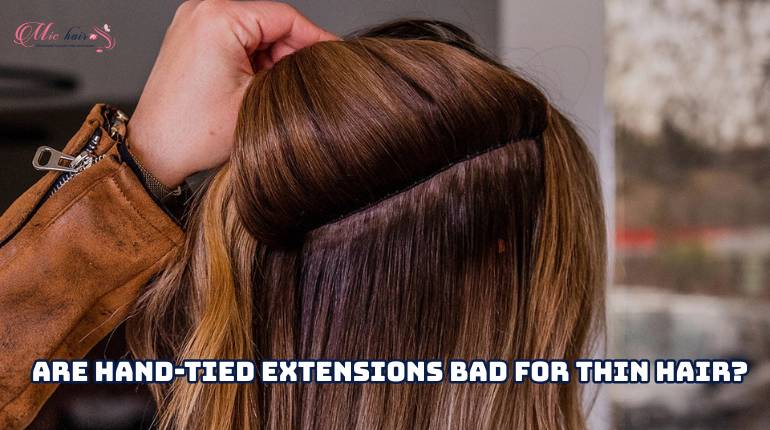
Braidless sew-ins offer a more versatile and protective way to install hair extensions without the need for traditional braiding. This method does not need braids, which can feel tight and uncomfortable. Instead, it gives a flatter and more natural look while feeling light and comfortable.
First, divide your hair horizontally, beginning about an inch above your ears. Clip the top hair part to keep it out of the way. Use a tail comb to create a narrow, horizontal parting in the bottom area.
Take a tiny piece of hair from your parting and thread it through a microring. Slide the ring up approximately an inch from your scalp. Next, take a little weft of hair extensions and loop it through the ring. Make sure the weft is flat against your head.
Using pliers, tightly clamp the tiny ring close, locking the hair weft into place. Repeat the process, working your way up the head, weaving in wefts, and adding additional micro rings as necessary.
- This method is considered the least damaging hair extension type. The extension procedure does not require heat treatment, which excludes the possibility of hair damage due to high temperatures.
- By choosing weft extensions, you can forget about inconveniences and enjoy the fantastic look of your hair extensions. You can style your hair in many different ways, such as putting it in a high and smooth ponytail, making braids, curling, or straightening your hair.
- This method of hair application is pretty discreet. No one will be able to tell that you’re wearing hair extensions because they blend perfectly with your natural hair!
- Another advantage of this beauty treatment is that it takes very little time to install. The stylist prepares your weft in advance, so you need to allocate only an hour and a half so that the hair tech can fix the extensions in the hairstyle.
- If the hair extensions are sewed excessively tightly, they may cause discomfort and headaches, damage the roots, and even cause hair loss.
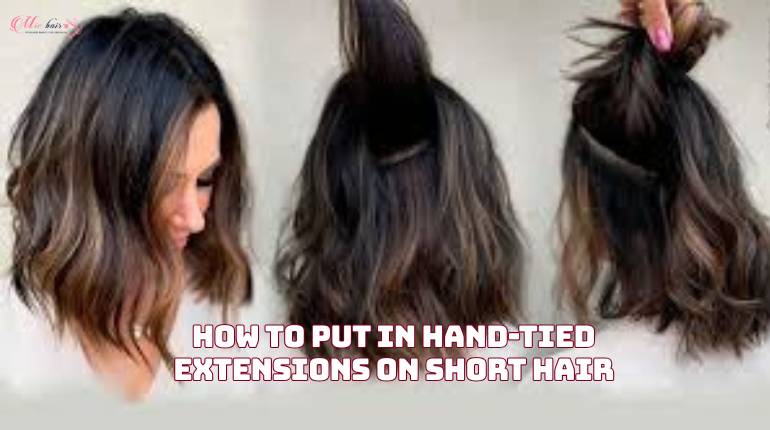
- It is not appropriate for those with short curls since extended strands are linked to braided hair. Your hair should be at least shoulder length. If it is too short, consider different types of hair extensions.
- Although the application and removal processes are quick, the manufacturing of hand-tied wefts takes longer. You will have to wait around 2-3 weeks until the hair weft is made based on your specifications.
Sew-in hair extensions can cause damage to your scalp, especially with the traditional braid method. So, choosing the right product to take care of your hair is really important. As far as I know, haircare products containing argan oil are very good for women who get sew-in hair extensions
Keep your scalp clean and healthy by remaining moisturized. If you live in a low-humidity place, applying lightweight oil or serum is a must-have step. Before going to bed, don't forget to brush your hair gently and use a satin or silk pillowcase to reduce friction and tangling.
Sew-in hair extensions typically last between 6 and 8 weeks. However, the exact duration can vary depending on several factors, such as the quality of the extensions, how well they are maintained, and your hair's growth rate.
In most cases, sew-in hair extensions can be reused if they are well maintained and remain in good condition. However, it's essential to consult with your stylist to determine if the extensions are suitable for reuse. They will assess the quality of the hair, the stitching, and the overall condition to provide guidance on reusing the extensions.
You may wash your hair using sew-in extensions. It is critical to keep your hair and scalp clean in order to prevent product accumulation and protect the quality of your natural hair and extensions.
We hope now you understand how to sew in hair extensions. You will be able to get more smooth-looking hair by using the right method. For sew-ins, you just have to use a needle with the thread to add hair extensions at the weft. Using a net over the braids can help you reduce the gap between them.
SHARE
Hairstylist
William is a professional hair stylist with over 10 years of experience. He is passionate about creating personalized, trendy looks for his clients and specializes in hair treatments and updos. He is now a certified hair adviser for Mic Hair Company. His articles are always filled with advice, pro tips, and latest hair research results.
RELATED POSTS
you may like
Recommended Products
(4 Reviews)
Custom Ombre Straight Machine Wefts (Natural Black 1B to Pink)
from $32
(2 Reviews)
Vibrant Purple Straight Machine Wefts (100% Human Hair)
from $26
(2 Reviews)
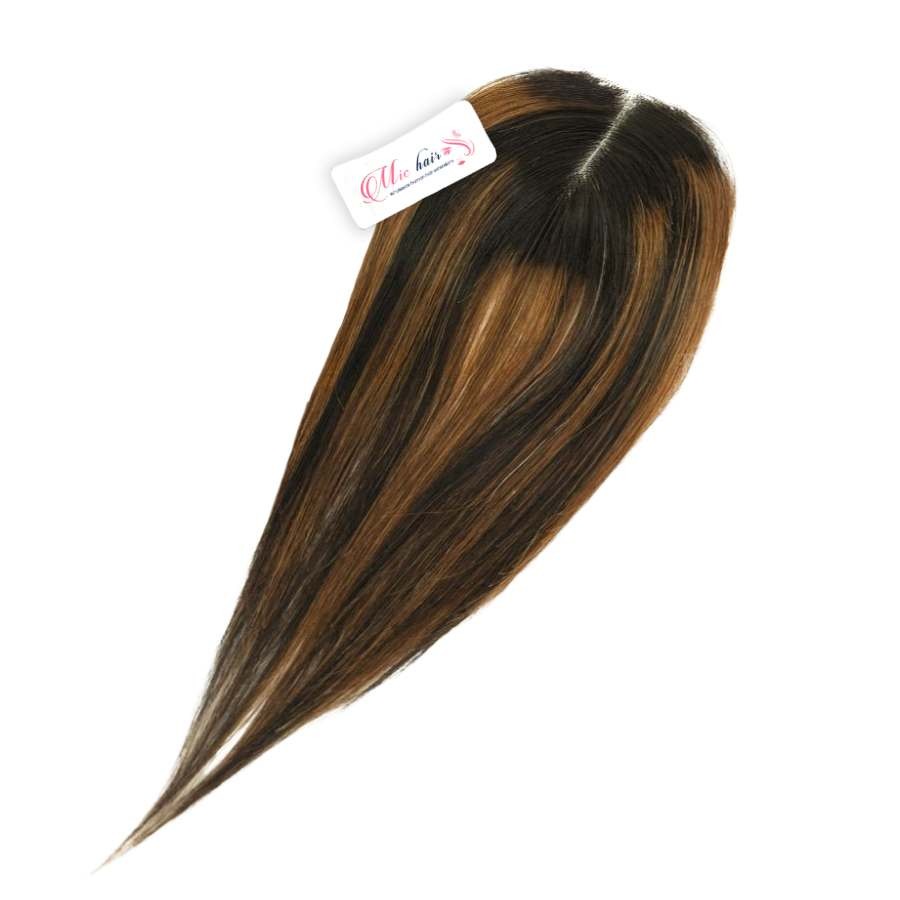
Piano Brown Highlight Straight HD Lace Closure
Contact us
(2 Reviews)
Double Drawn Black Wavy Machine Wefts (100% Human Hair)
from $19
Want to get updates on Michair news?
Connect now using
Don’t have an account?
Data updating
Please wait a moment