Last updated date Fri Apr 24 2026 By William Brown
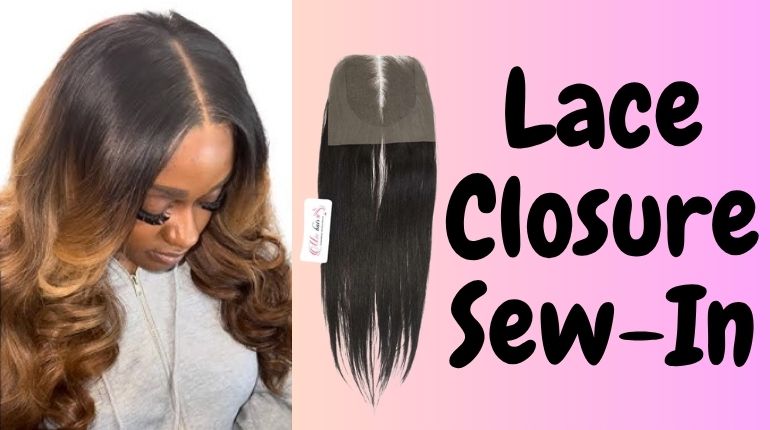
Lace closure sew-ins have grown increasingly popular in the world of hair extensions due to their ability to offer a smooth and natural-looking haircut. A lace closure sew-in might be the perfect answer for a flawless appearance, whether you want to add length, volume, or simply vary up your look. In this blog post, we'll go over all you need to know about lace closure sew-ins and why they've become such a popular choice for so many ladies.
Content [hide]
A lace closure sew-in is a hair extension installation technique that uses a lace closure component to create a natural-looking hairline. The closing component is often composed of lace material, which resembles a scalp and gives the impression that the hair is sprouting directly from the head. After that, the closure is sewn onto a braided base, resulting in a secure and long-lasting hairstyle.
Before you start sewing the lace closure on your head, you will need to braid your hair into cornrows. For starters, it is recommended that you use a lace cap or a net. Here is how you do it:
- Since you will be wearing the wefts and lace closure in your hair for an extended period of time, make sure your hair and scalp are clean and freshly washed. It would be preferable to use a clarifying shampoo. After that, use conditioner and hydrate your hair. Before continuing, make sure your hair is completely dry.
- Part your hair in the direction you want your finished style to be parted. Cornrow your hair using your preferred technique, making sure that each braid emerges from the same section. Keep your braids small and make a cornrow braid all the way down your hairline. To guarantee that your foundation is flat, the braids should be small.
- Place a square of weaving hairnet on top of your head. Try to match the netting color to your hair. Most people like black, but if you have lighter hair, dark brown may also work.
- Use a curved needle with a strong thread. Begin sewing from the back center of your head and work your way to the front center. As you go, pull the netting in front of your needle. Maintain small, uniform stitches.
- When you reach the top center of your head, take a moment to re-thread your curved needle. Gently tug the netting towards the edge cornrow and continue whip stitching it. Fold and pleat the netting every so often so that it is nice and smooth.
- When you get back to where you started, sew a couple times through the netting, then knot and snip the thread. Trim the surplus netting as close to the edge cornrow and stitching as possible.
Now it’s time to sew the lace closure onto the hair. You need to keep the lace closure in place during the whole process. Follow these steps:
- Place the lace closure on the top-center of your head or slightly off to the side, depending on where your cornrow section is. Make sure the straight edge is aligned with your front hairline and overlaps it by about 0.39 inches. Your closing should be flat. There should be no gaps between your closure and your natural hair.
- Thread a curved needle with strong thread. Insert the needle into the lace, netting, and cornrow. Pull the needle back through the cornrow and netting, right below the lace closure edge. Repeat this stitch several times more to secure the closure.
- Thread another curved needle with thicker, stronger thread. Tack down the right side after pulling the lace closure firm on your hairline.
- Make a horizontal part directly behind the closure's front edge. Slide the handle of a rat-tail comb through the closure's hair, about 1/8 to 1/4 inch behind the front, straight edge. Comb forward the hair on the lace closure to reveal the lace netting.
- Sew the lace closure down the front. Begin sewing from the left side of the closure until you reach the portion, then return to the side edge. Repeat this process on the opposite side. On the lace closure, do not stitch across the part of the closure.
- Whipstitch along each side of the closure, working your way to the back. Begin sewing on the left side of the lace closure and work your way back to the center. Repeat for the right side, then finish sewing at the back where you left off. Tie the threads together and cut the excess.
- Make a loose bun with the hair on the lace closure and fix it with a clip. You may even drape it across the face if you're doing this on someone else. The idea is to get the hair out of the way for the following portion.
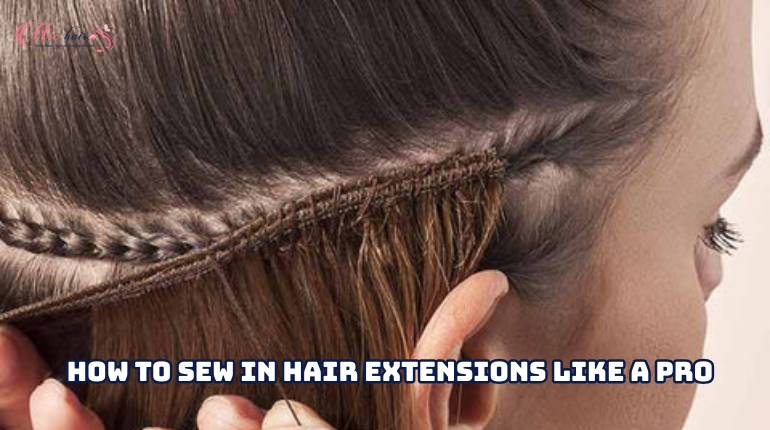
After the sew-in process of the lace closure is done, the last step you need to do is sew the weave hair onto the remaining part of the head. You can check out how to do it right here.
>> Read more: How To Sew In Hair Extensions Like A Pro <<
The most significant advantage of a lace closure sew-in is the realistic hairline it creates. The lace material blends seamlessly with your scalp, making it appear as if the hair is growing from your own head. This natural look is hard to achieve with other hair extension methods.
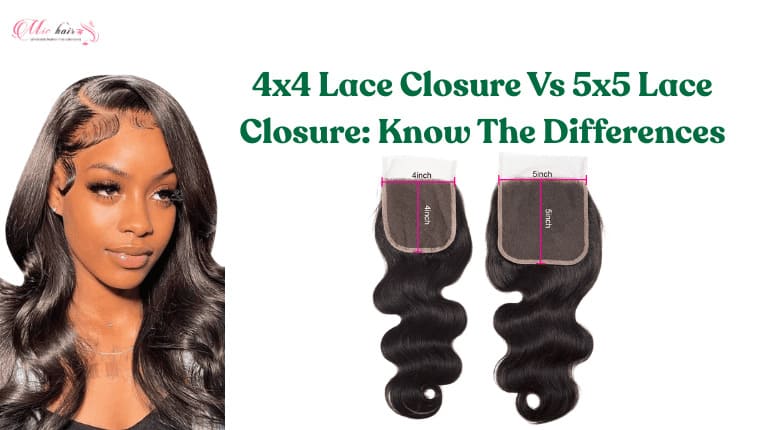
Lace closures come in various sizes and styles, allowing you to customize your hairstyle according to your preferences. Whether you want a middle part, a side part, or even a free part lace closure, they can be tailored to suit your desired look. This versatility makes it easy to experiment with different hairstyles without any commitment.
Unlike some other hair extension methods, lace closure sew-ins can help protect your natural hair. By braiding your hair as a foundation for the sew-in, your natural hair gets a break from the daily styling and manipulation. This can reduce hair breakage and promote healthier hair growth.
When properly installed and cared for, lace closure sew-ins can last for several weeks, making them a more cost-effective option compared to other temporary hair extension methods. With regular maintenance and proper care, you can enjoy your lace closure sew-in for an extended period of time.
Read more: >> How To Install A Lace Closure At Home <<
While lace closures can withstand heat styling to some extent, it is important to minimize the use of hot tools, as they can damage both the closure piece and the hair extensions. Use heat-protectant sprays when necessary and opt for low-heat settings.
It is crucial to maintain proper hygiene when wearing a lace closure sew-in. Cleanse your scalp regularly using a mild shampoo and moisturize your hair and scalp with suitable products to avoid dryness and itchiness.
Sleeping on a silk or satin surface can help reduce friction and prevent your hair extensions from tangling or frizzing. It also helps retain moisture, keeping your hair and closure piece looking fresh.
A lace closure sew-in has numerous advantages, such as a natural-looking hairline, adaptability, protection for your natural hair, and lifespan. By following the above-mentioned maintenance guidelines, you can ensure that your lace closure sew-in stays in great shape for an extended amount of time, allowing you to enjoy a flawless and attractive hairdo. So, if you want a hair extension method that is both beautiful and convenient, a lace closure sew-in may be the best option for you.
SHARE
Hairstylist
William is a professional hair stylist with over 10 years of experience. He is passionate about creating personalized, trendy looks for his clients and specializes in hair treatments and updos. He is now a certified hair adviser for Mic Hair Company. His articles are always filled with advice, pro tips, and latest hair research results.
RELATED POSTS
you may like
Recommended Products
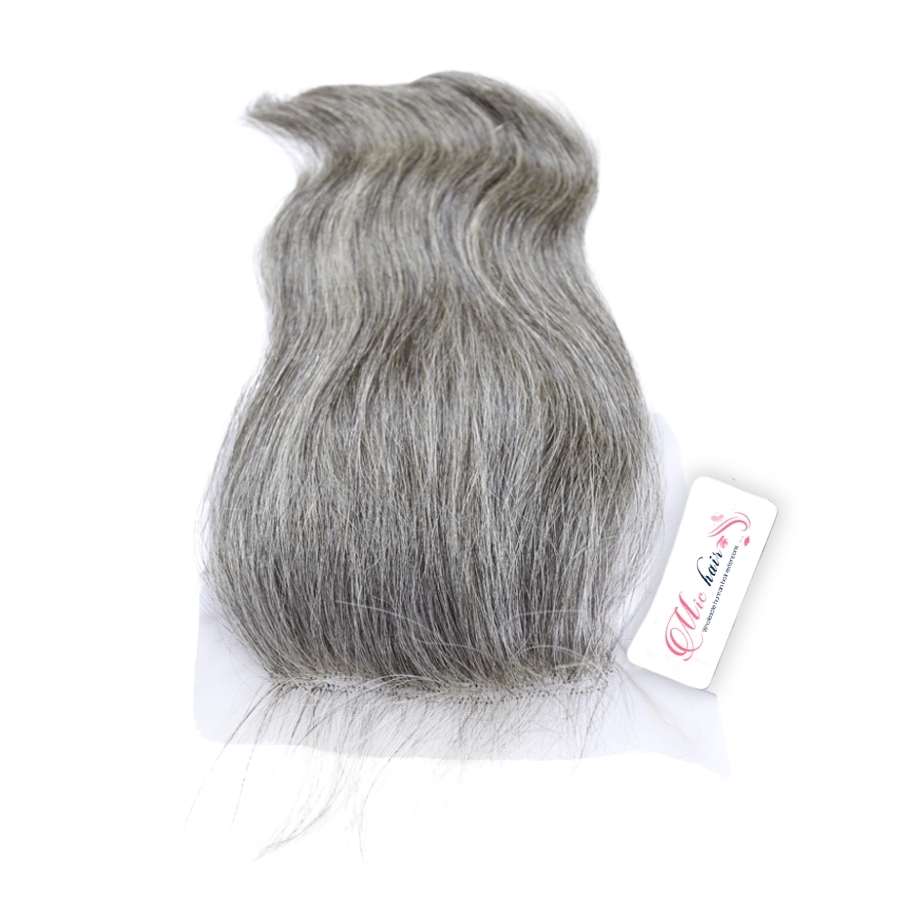
(2 Reviews)
4x4 Free-Part HD Lace Closure (Straight Grey Hair)
Contact us
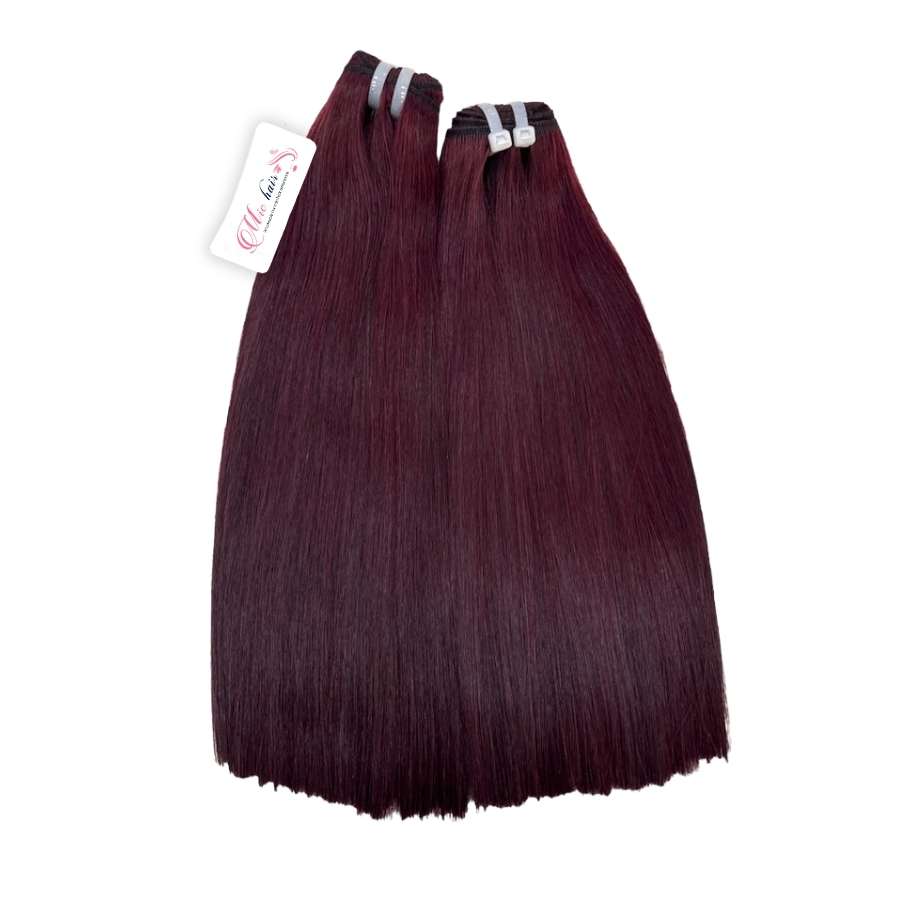
(2 Reviews)
Wholesale Burgundy Bone Straight Hair Wefts (100% Human Hair)
from $25.9
(3 Reviews)
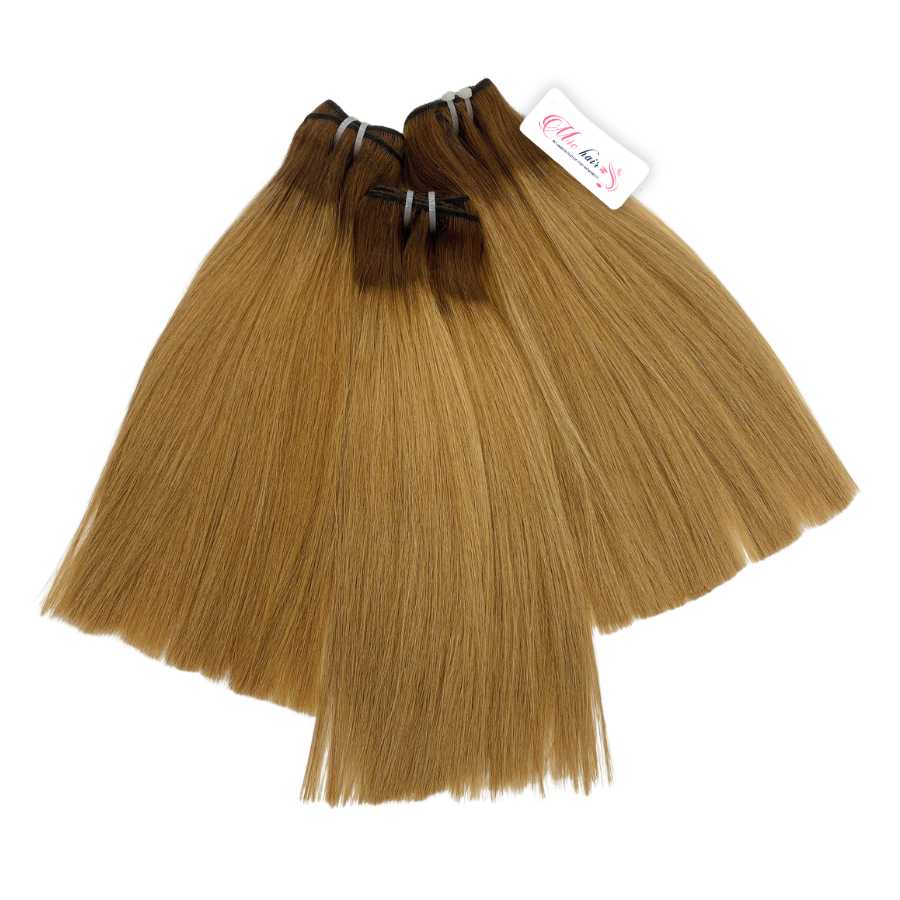
Raw Vietnamese Silky Straight Hair Bundles (Single-Donor)
Contact us
(2 Reviews)
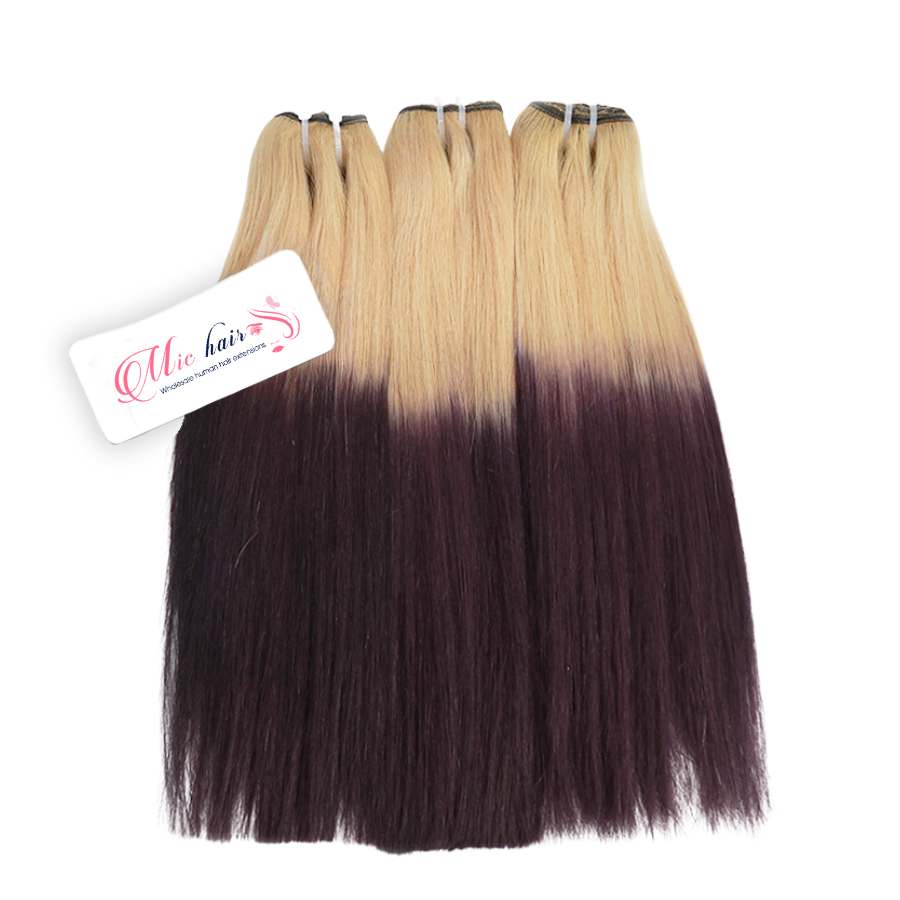
Vibrant Red Ombre Funmi Curly Machine Wefts
from $26
Want to get updates on Michair news?

Connect now using
Don’t have an account?
Data updating
Please wait a moment