Last updated date Thu Feb 05 2026 By William Brown
As you know, a lace closure is a common item for women who want to get a full-looking hair wig. With a lace closure, you will get a very awesome wig with a perfect part as you desired. Although it is sold widely online, some women decide to waste more money on a complete wig instead of a closure because they find it difficult to install and style. In this blog, I will help you save your money with a complete guide on how to install a lace closure at home.
Content [hide]
1. Bleaching The Knot
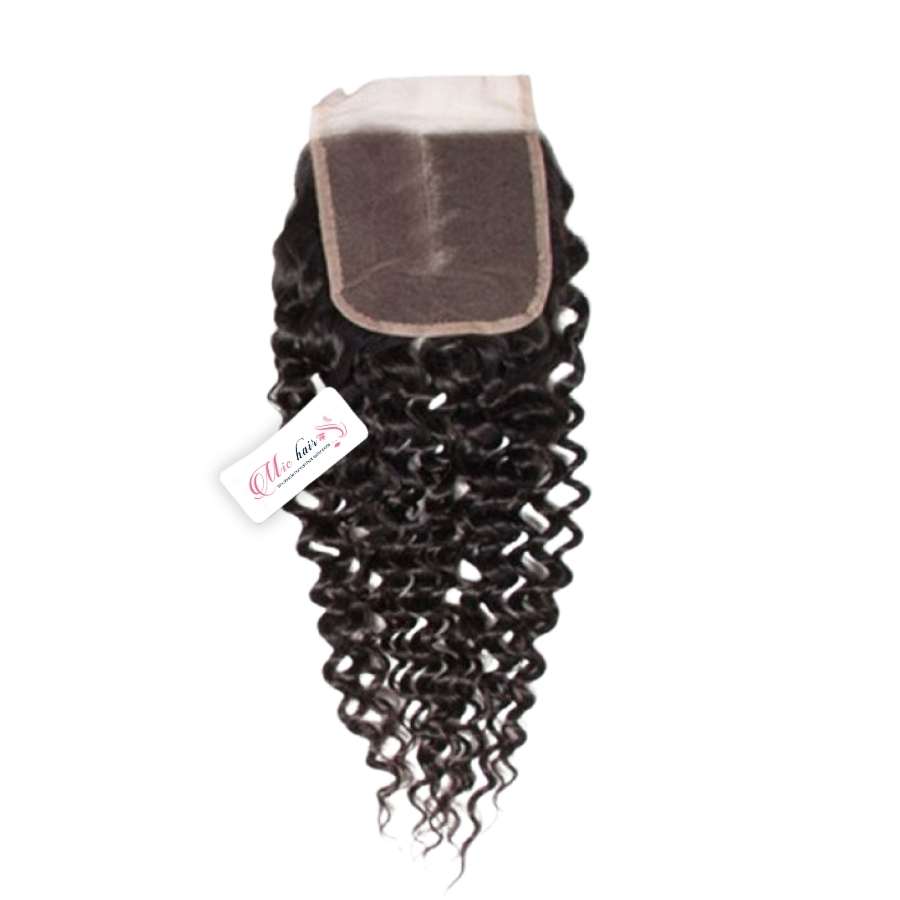
Bleaching knots on lace closures is a key technique for enhancing the natural appearance of your wig. By removing pigment from these knots, you create a seamless blend with your scalp, achieving a more realistic look. This process not only softens the knots but also ensures that your lace closure closely mimics your actual skin, making it virtually indistinguishable. Discover how to bleach knots effectively for a wig that appears genuinely natural.
- Turn your lace closure inside out and apply bleaching mixture to the lace. Avoid bleaching the hair.
- Cover the lace closure with a plastic bag
- Wait about 20 minutes and wash the bleach out with shampoo.
>> Read more: 4 Simple Steps on How to Bleach Knots <<
The edge of a lace closure is often double sewn, as a result it’s thick and hard to blend with your natural scalp. Even if you use sew-in or glue-in methods, the lace closure won’t look natural. So, before sewing the closure in a lace wig, I always cut the edge of the lace closure. You can easily do it yourself at home by doing these steps:
- Put your lace closures on with one hand
- Use scissors to cut the edge of your closure.
- Comb through the closure to detangle the closure.
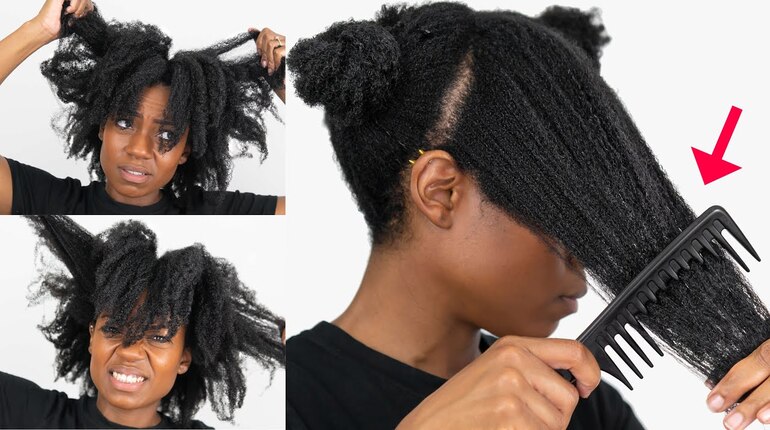
The first step on how to install a lace closure is securing your natural hair. To achieve the best results when preparing to wear your wig, it's crucial to ensure your natural hair lies flat against your scalp. It helps your hair extensions look like it grows straight from your scalp so that no one can realize that you are wearing a wig. If your hair is short, comb it backward and use hair wax for added security. For those with longer hair, consider creating cornrows by twisting or braiding.
To anchor your natural hair in place, opt for a latex or vinyl wig cap. You should buy a wig cap which has the same color as your skin to get the seamless blending. You can also apply concealer on the wig cap if you can’t buy the suitable one.
Put the closure on the wig cap at the place you want to get the part and use a curved needle to sew it to the wig cap. When sewing the closure to the wig cap, you should stretch the wig cap a bit and sew the closure in to ensure it will fit. If you don’t want to sew-in, you can use wig glue to attach closure with it. However, sew-in methods make the closure look more natural and live longer.
Before adhering the wig cap to your head, you have to clean the skin near the hairline using cotton pads. Then, you can use wig adhesives to glue down the wig cap. Dotting the adhesive around the hairline and smooth them using your fingers. You can also protect the hairline from wig glue using moisturizing creams such as Vaseline. Some adhesives take around hours to dry, but you can fasten the process by blow drying them. After that, you can apply styling spray to secure the whole cap.
After the closure has already been sewn into the wig cap, you should cut the excess lace at the hairline. It not only helps you feel more comfortable to wear, but it also makes the wig become more natural-looking. You can use a razor or scissors to cut the lace. A hair expert suggests that you should cut the lace in a jagged line instead of a straight line unless it will leave the visible line at your hairline.
Melting the lace is a crucial step to make your wig become more natural-looking. Begin by applying hair glue to the lace along your hairline. Next, securely tie a satin scarf over the lace to hold it in place. To seamlessly integrate the lace with your skin, use a blow dryer or hooded dryer, applying gentle heat. This step ensures a flawless, natural appearance.
After you finish the installation process, your extension may not smooth and come in the right part as you desired. So, to get the best result, you should use a tool called hot-comb to comb through your hair and create your desired part. Although a hot comb will help you a lot in styling, it can damage your hair very badly. Make sure that you set the medium heat level on the hot comb before combing through your hair.
Plucking the wig doesn’t require much experience, so you can do it yourself at home. At the beginning, you should separate the hair at the front into small sections using a rattail comb. Then grab your finger near the root of the hair and use tweezers to pluck the hair out of the wig cap. You should do it gently and slowly to avoid tearing the mesh. After getting the desired hairline, you can move to the next part.
>> Read more: 5 Steps to Pluck A Wig You Can Do At Home <<
Baby hair plays such an important role in the result of your wig. Without baby hair, others can easily detect that you’re wearing a wig. Moreover, baby hair also helps cover the parts of the line where your skin meets the lace. You should use some mousse to lay the baby hair flat on your skin, then use a special brush for baby hair and start styling.
If you read my guide thoroughly and don’t skip the videos, I’m sure that you have already known how to install a lace closure yourself. All you need now is buying a lace closure and some required items to start your wig. You will save a hundred dollars for a hairdresser if you can install a lace closure at home.
SHARE
Hairstylist
William is a professional hair stylist with over 10 years of experience. He is passionate about creating personalized, trendy looks for his clients and specializes in hair treatments and updos. He is now a certified hair adviser for Mic Hair Company. His articles are always filled with advice, pro tips, and latest hair research results.
RELATED POSTS
you may like
Recommended Products
(2 Reviews)
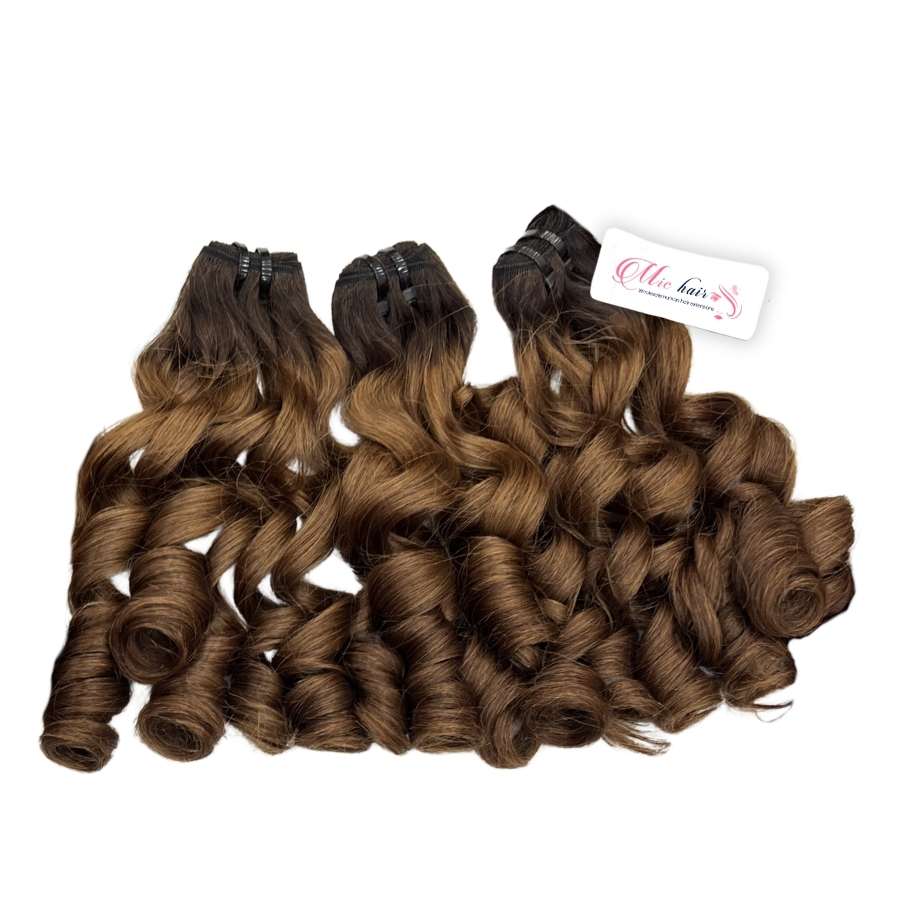
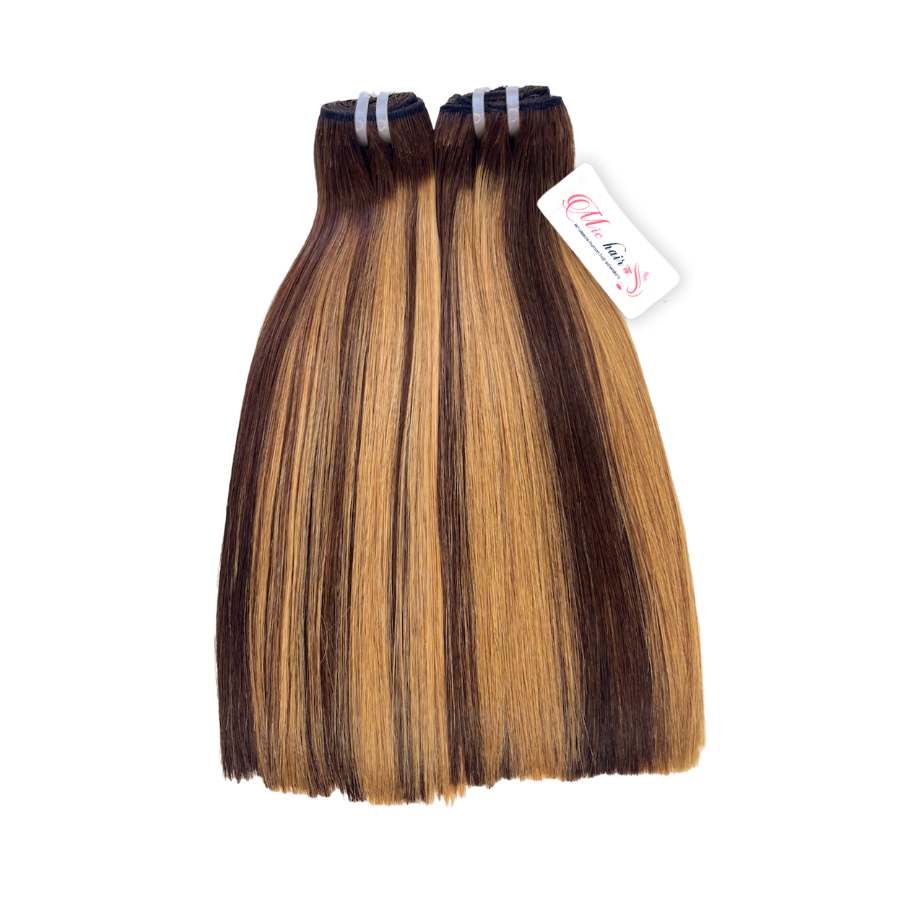
Piano Highlight Bone Straight Machine Wefts (Chocolate Brown & #613)
from $27
(2 Reviews)
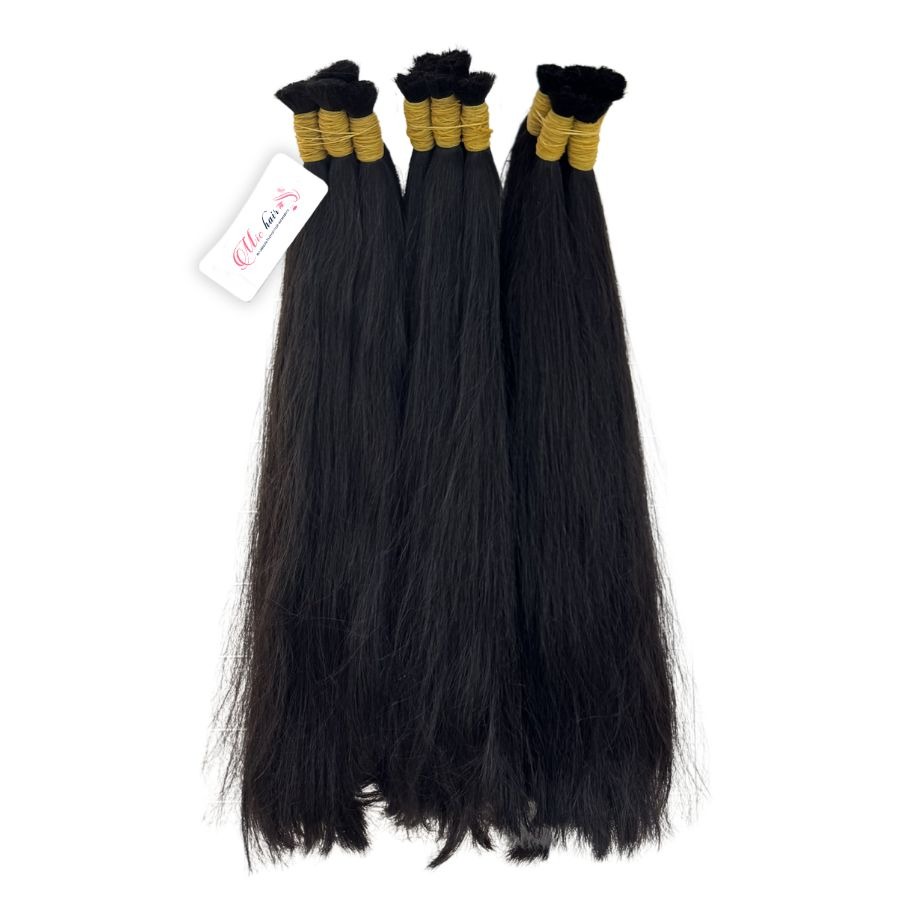
Raw Vietnamese Natural Straight Bulk Hair (Unwefted, Single-Donor)
Contact us
(2 Reviews)
Natural Straight Black Machine Wefts (Double Drawn Human Hair)
from $15
(2 Reviews)
Raw Bone Straight Machine Wefts (Natural Black, Double Drawn)
from $17
Want to get updates on Michair news?
Connect now using
Don’t have an account?
Data updating
Please wait a moment