Last updated date Mon Dec 25 2023 By William Brown
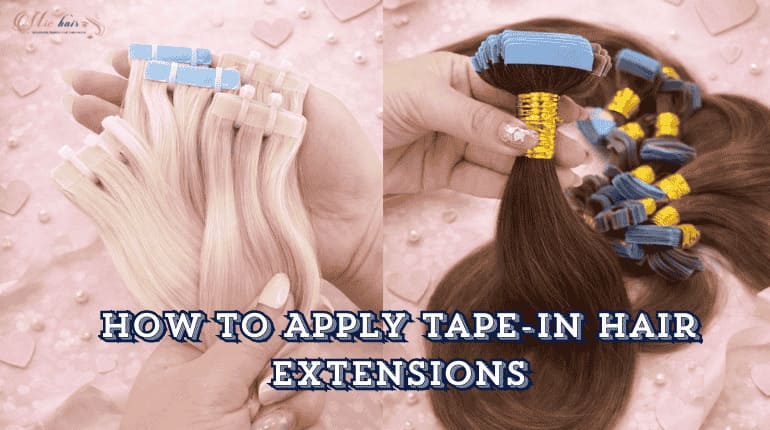
Tape-in hair extensions are one of the most popular hair extensions. Although installing these types of hair extensions is not difficult, many women still get their hair damaged because of the wrong installation process. To help you avoid the damage, I will introduce a step-by-step guide to apply tape in hair extensions in this article. Read until the end to know more about tips to maintain tape-in hair extensions!
Content [hide]
Before we dive into the process of tape-in hair extensions placement, I will let you know how much hair you need. It isn’t the same for everyone. It depends on your desired look and how thin your hair is. For a full head, a normal woman needs about 20-30 single-sided tape-ins or 40 double-sided tape-ins to get medium volume. On the other hand, to get the same volume, people with thin hair will need about 40 single-side tape-in or 50 double-side tape-ins. For thick density, you have to get more.
>> Read more: Are Tape-in hair extensions bad for your hair? <<
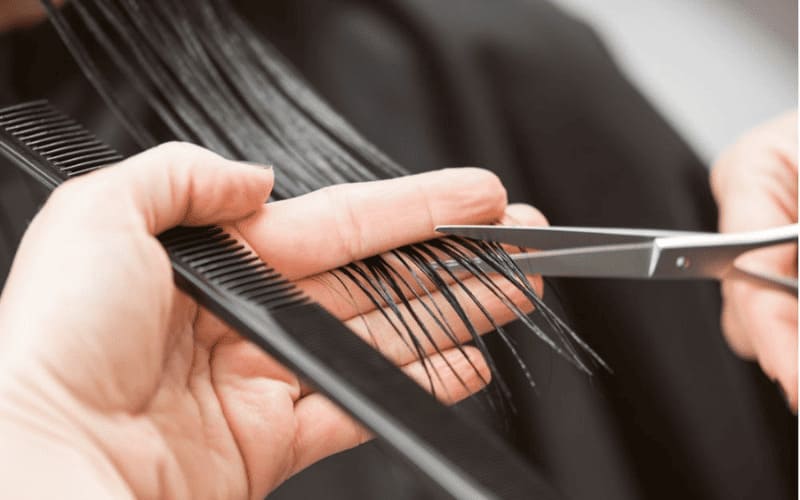
Start by using a rat-tail comb to section your hair into a line where you want to attach the tape-ins. Don’t part your hair near the top or temple of your head unless your attachment will be visible. Then clip the hair above up to reveal the line. Take the small amount of hair at the beneath and comb through using the rat-tail comb.
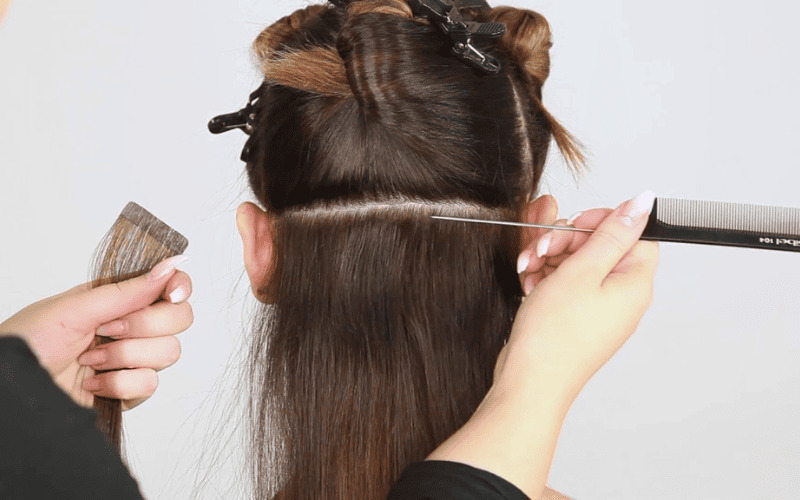
After parting your hair into sections, you should check how it will look. I recommend you use bobby pins to attach the tape-in to the root of your hair. It’s very important, especially for beginners because once you fail to attach the tape-in using its adhesive, removing it may cause damage to your hair. With bobby pins you can adjust the tape-in extensions until you’re satisfied.

After adjusting your tape in extension with bobby pins, you can place it directly to your natural hair once you are satisfied. To get the natural blend, you should “sandwich” your hair with extensions. Place the tape on the below part and cover it with a small amount of strands from the clipping part. Make sure the strands cover both sides of adhesive to avoid other strands sticking to it and causing damage.

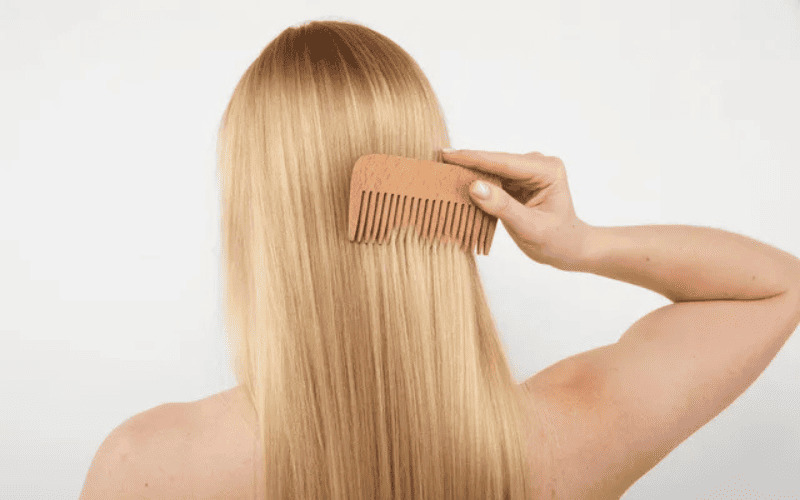
When you’ve done, you should comb through your hair with a wide-tooth comb to remove the knots. By doing this, you can see whether your hair blended perfectly. Sometimes, you may miss some parts that make your hair look thin and weird.
To get a natural-looking hair, you may need to cut or trim your hair after installing. If you can cut it yourself, you should meet a hairdresser to do it for you. In addition, they can style your hair curly or wavy very perfectly to improve how your hair looks with hair extensions.
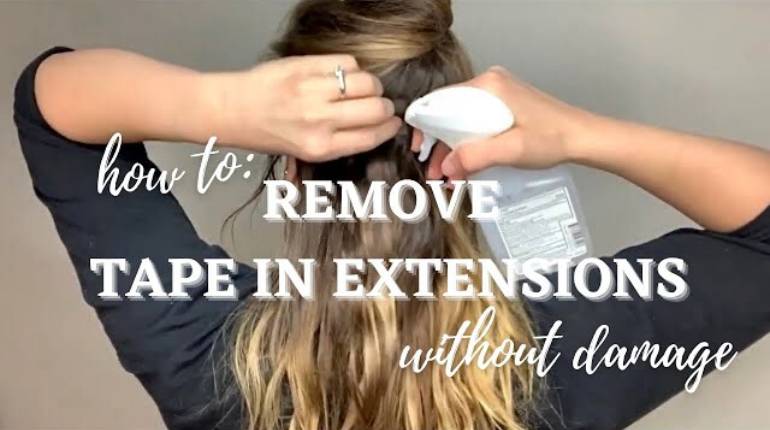
>> Read more: How to take out Tape-in hair extensions without damaging your hair <<
Proper maintenance is very important to maintain the beauty of your hair extensions.
As with your natural hair, washing and conditioning are very important with tape-in hair extensions. Putting tape-in hair extensions in your hair means your hair density will be thicker that makes it difficult to remove excess oil and dandruff. You have to choose the shampoo that is strong enough to remove them without damaging your hair and loosening the adhesive. I’m sure that most of us know how to wash our natural hair in the right way but washing your hair with extensions is not that simple.
Once you get your hair blended with tape-in hair extensions, you should avoid heat styling, especially at the attachment points. The glue used in tape-in hair extensions is very sensitive to heat, it will melt at a specific temperature. If you want to curl or flatten your hair with heat tools, keep them away from the attachment points.
After 5-7 weeks our hair will grow ¾ inches longer, which makes our hair no longer blended perfectly with tape in hair extensions. That’s why many hair experts suggest you go to the salon to move up after that period.
>> Read more: How long do tape in hair extensions last <<
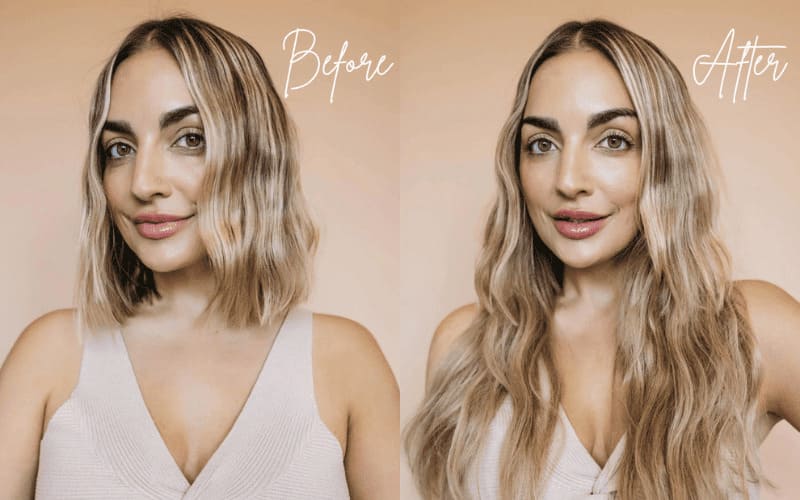
1. Before & after Tape-in hair extensions placement

2. Before & after Tape-in hair extensions placement
3. Before & after Tape-in hair extensions placement
In conclusion, to get the best result, you have to implement 4 must-do steps including sectioning, testing with bobby pins, putting in and combing your hair. The proper you do, the more beautiful your hair will be. Although you can do it yourself at home, I suggest going to the salon to get an experienced hairstylist install it for you.
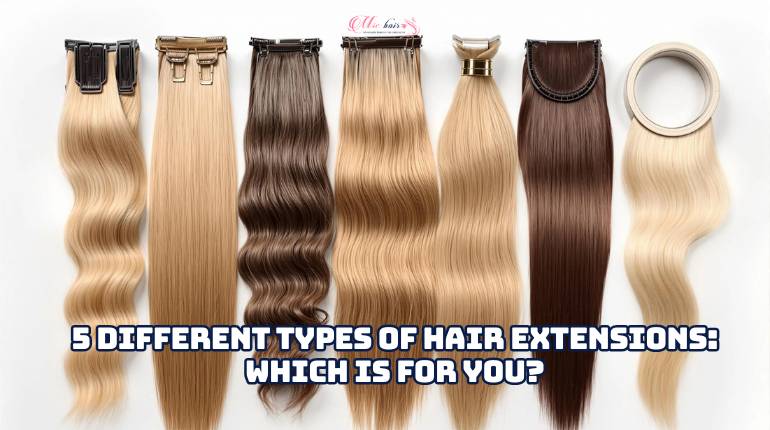
>> Read more: List of the best Tape-in hair extensions <<
SHARE
Hairstylist
William is a professional hair stylist with over 10 years of experience. He is passionate about creating personalized, trendy looks for his clients and specializes in hair treatments and updos. He is now a certified hair adviser for Mic Hair Company. His articles are always filled with advice, pro tips, and latest hair research results.
RELATED POSTS
you may like
Recommended Products
(2 Reviews)
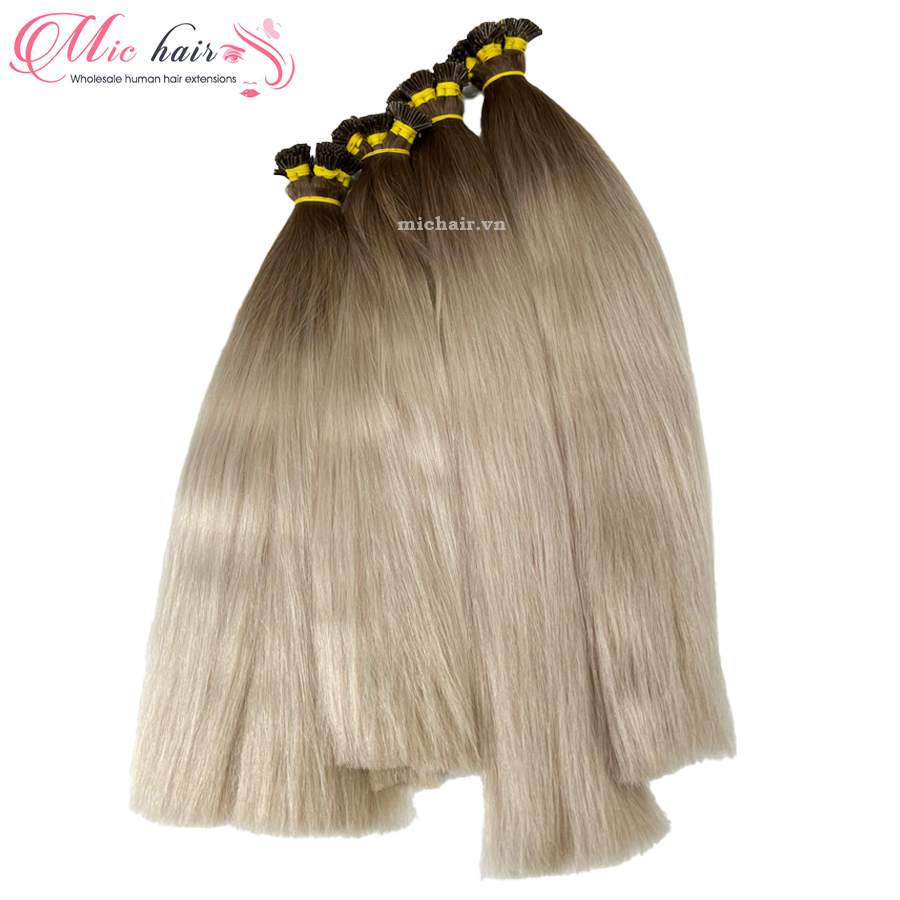
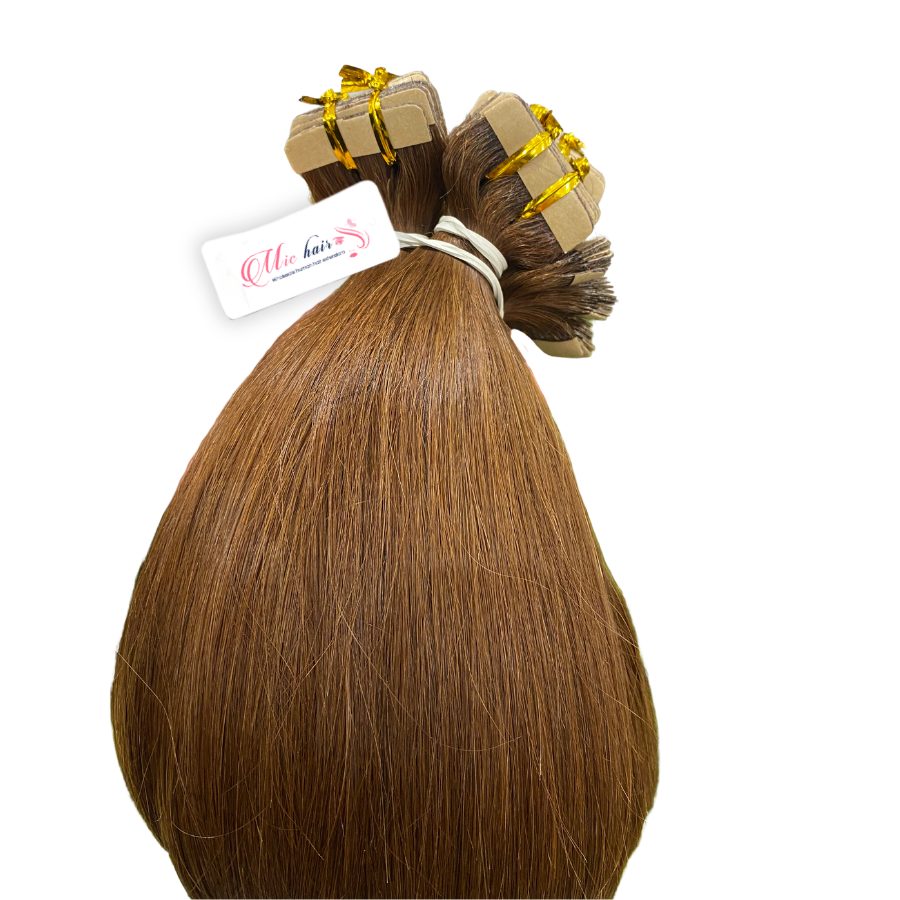
Seamless Light Golden Brown Tape-In Hair Extensions
Contact us
(4 Reviews)
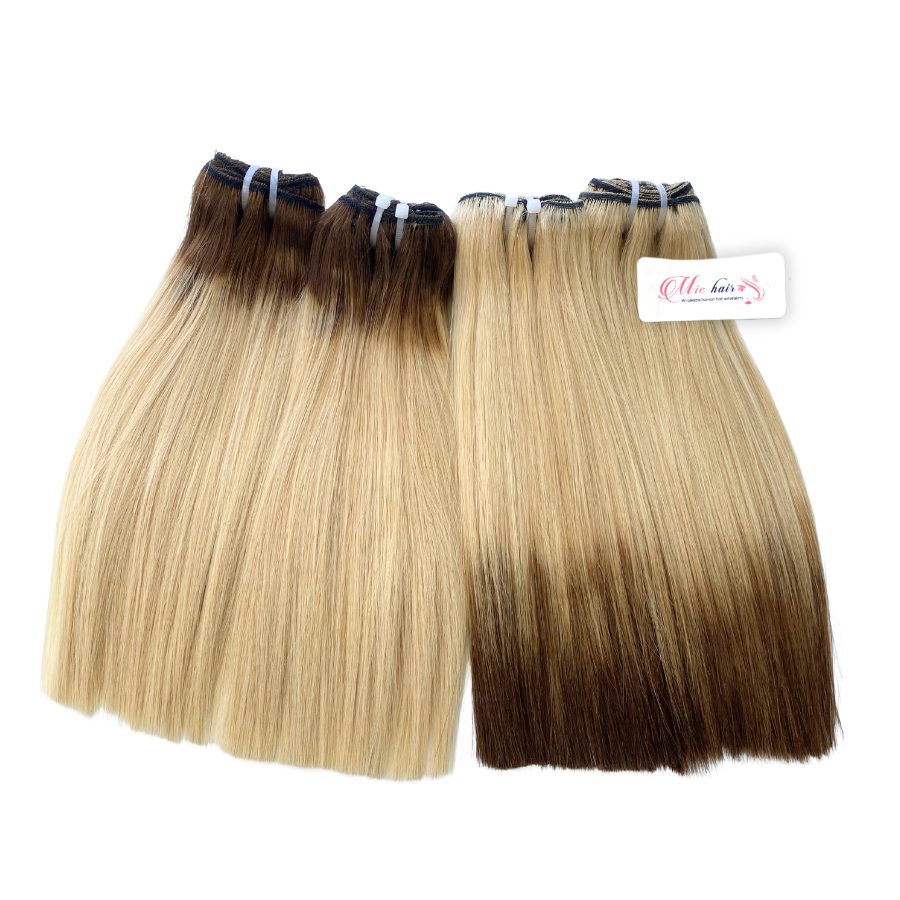
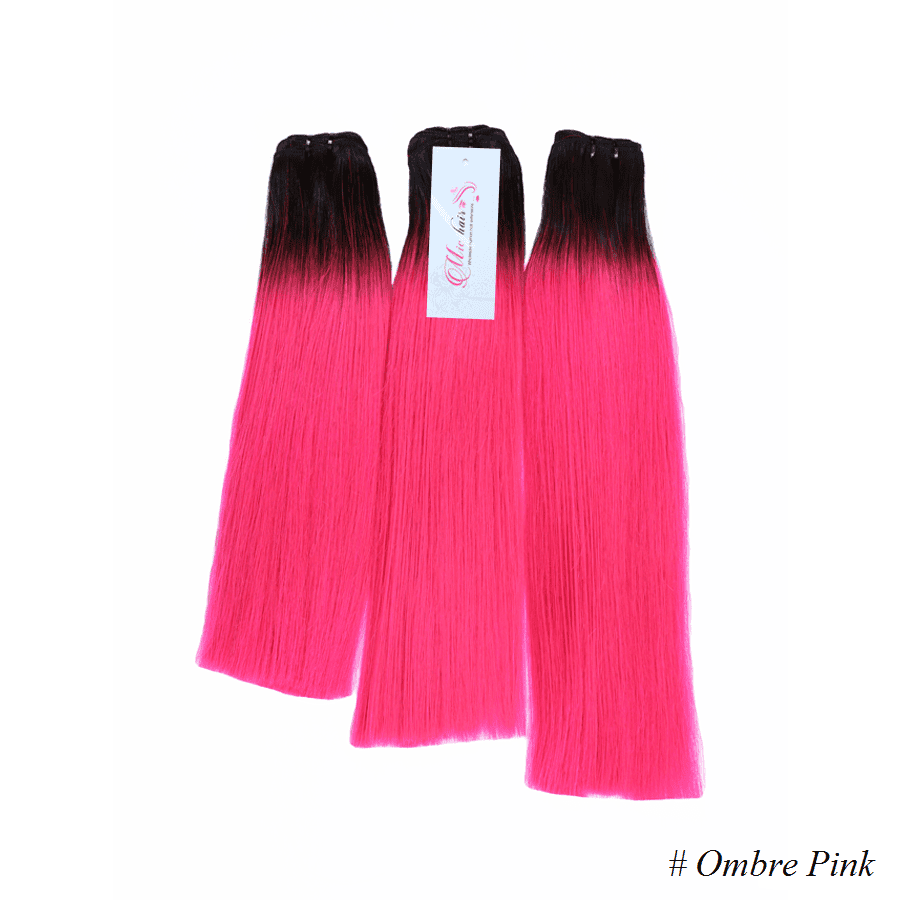
Custom Ombre Straight Machine Wefts (Natural Black 1B to Pink)
from $32
(2 Reviews)
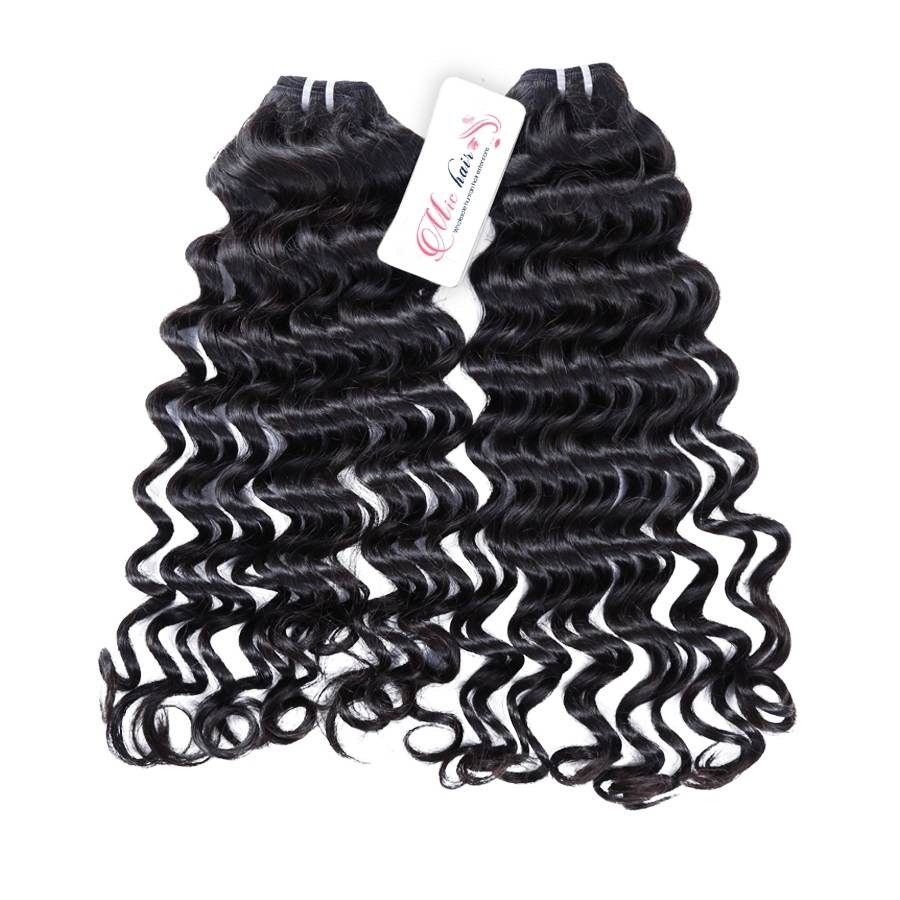
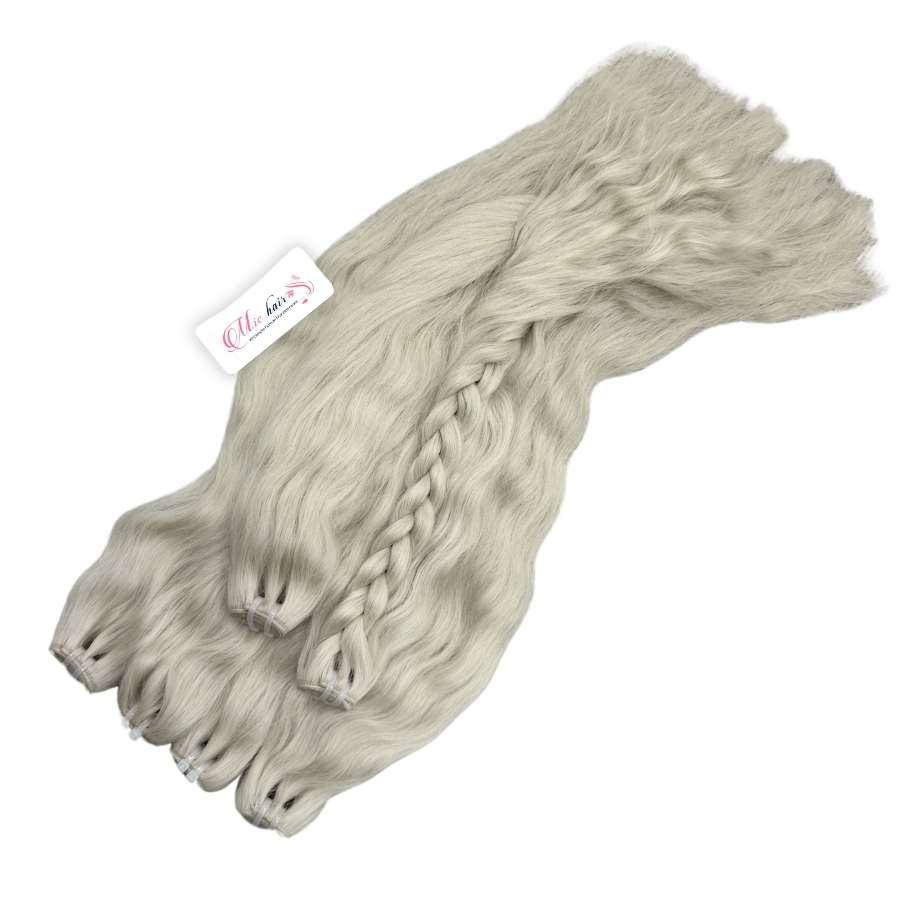
Natural Grey Deep Wave Machine Wefts (100% Human Hair)
Contact us
(2 Reviews)
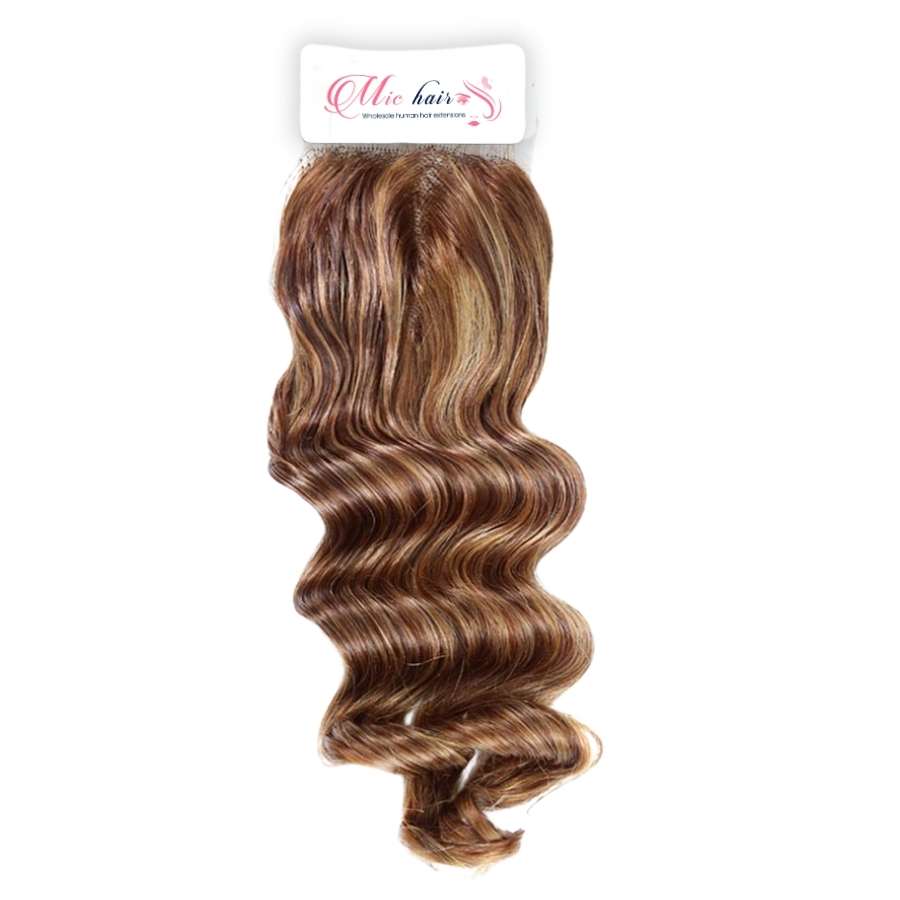
4x4 HD Lace Closure (Honey Brown Highlight Body Wave)
Contact us
Want to get updates on Michair news?
Connect now using
Don’t have an account?
Data updating
Please wait a moment